
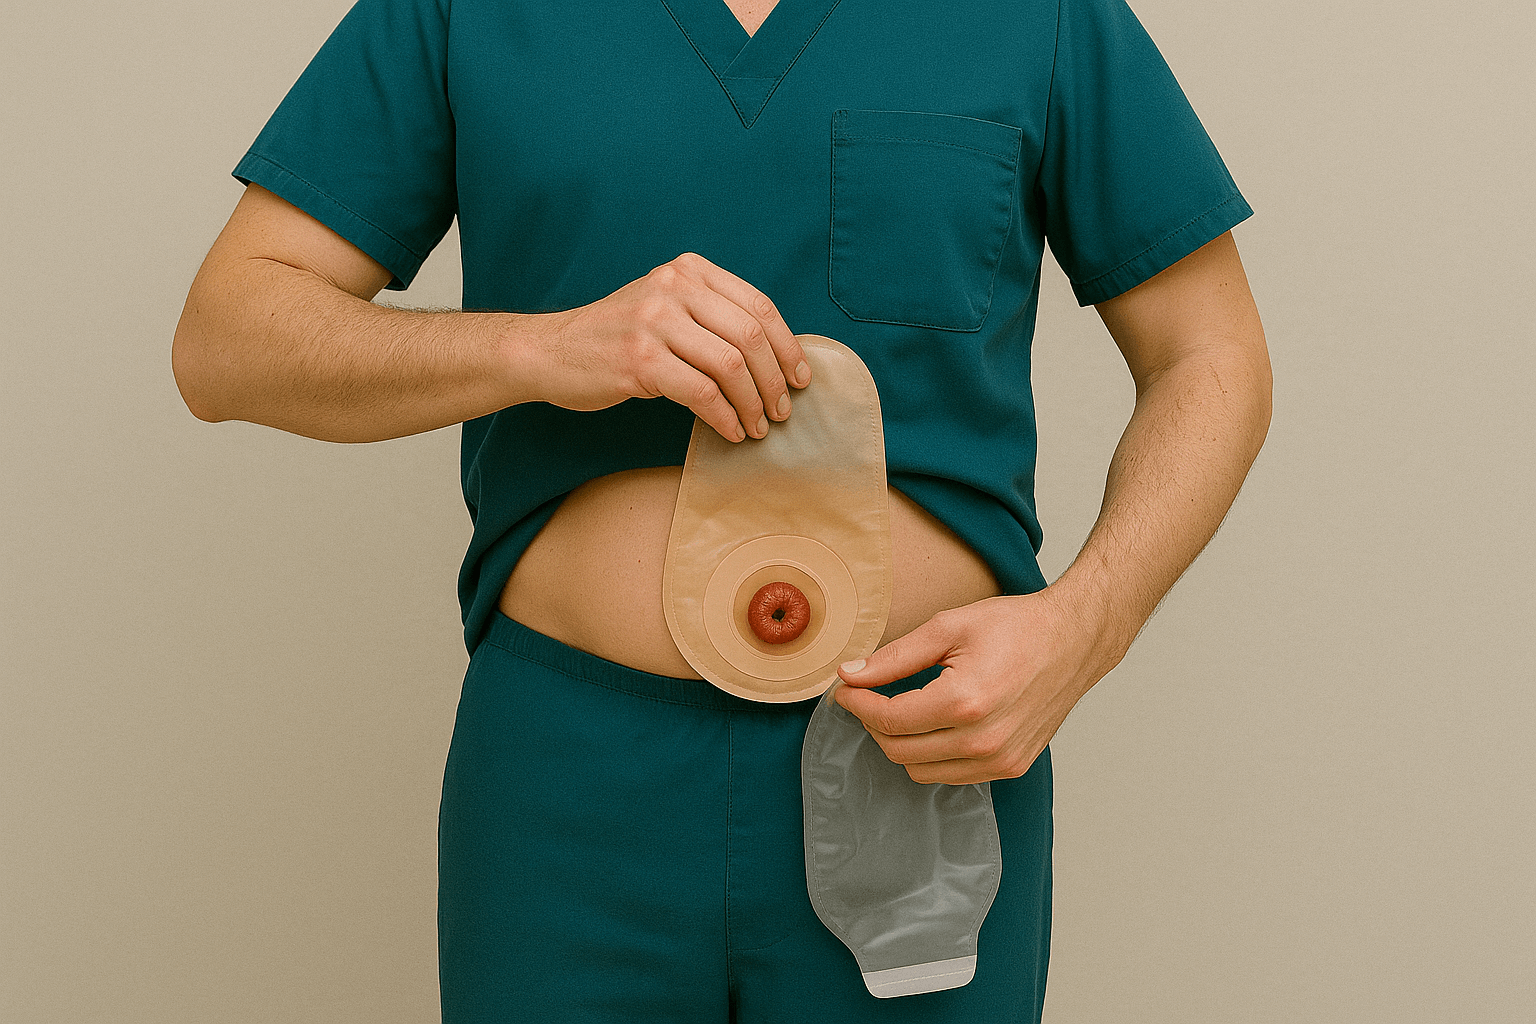
Learning how to apply an ostomy pouch correctly is one of the most important skills for nursing students and healthcare professionals involved in ostomy care. Before mastering pouch application, students should first understand the essential stoma care skills for nursing students, including stoma assessment, skin protection, and basic ostomy management techniques.
Although the procedure may seem straightforward, proper ostomy pouch application requires careful assessment, accurate measurement, and attention to skin protection. Small mistakes in fitting or sealing can lead to leakage, skin irritation, and patient discomfort.
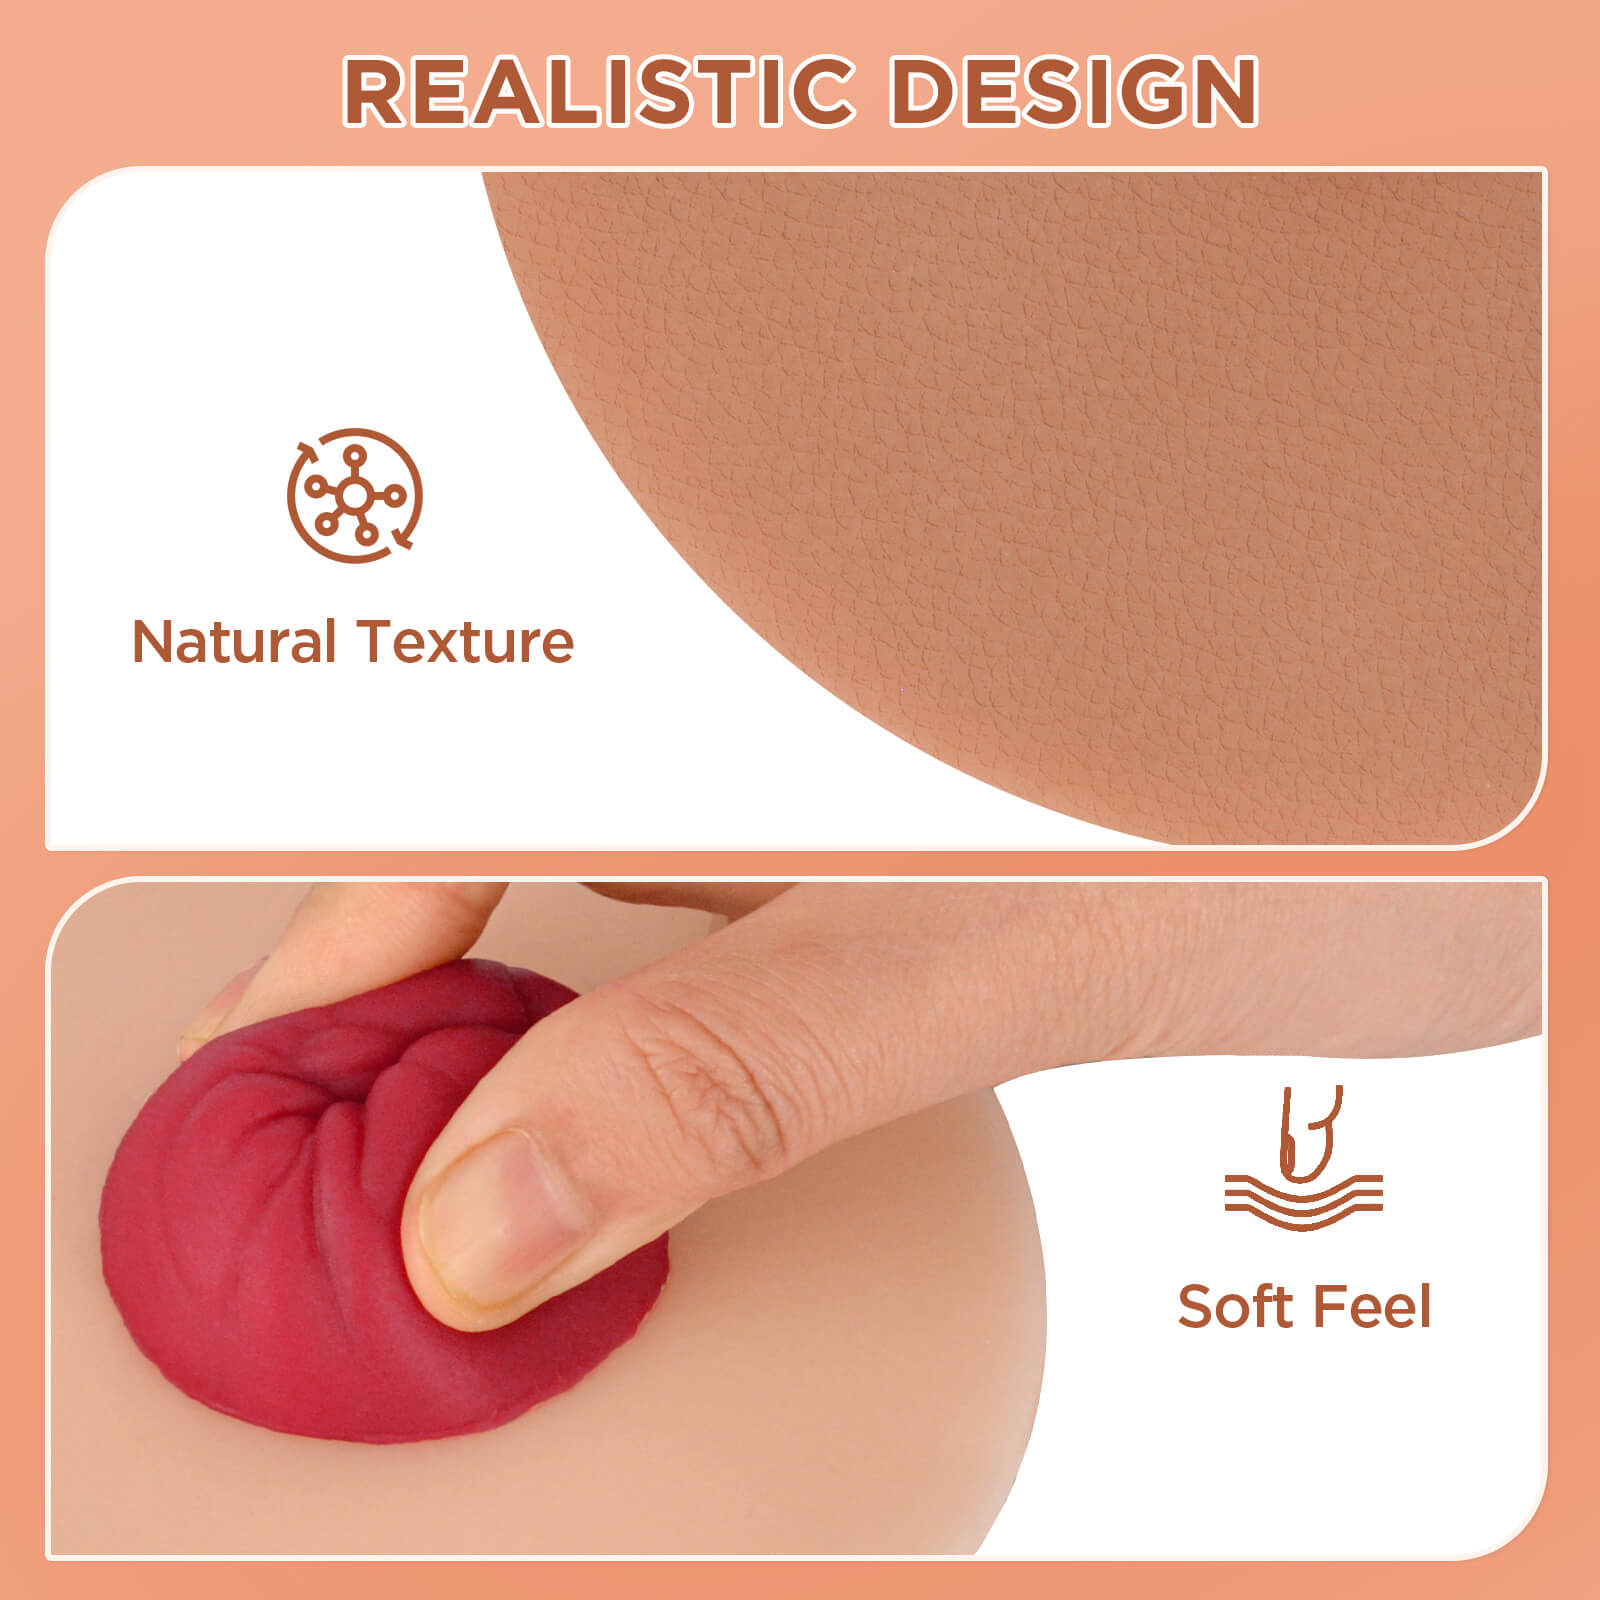
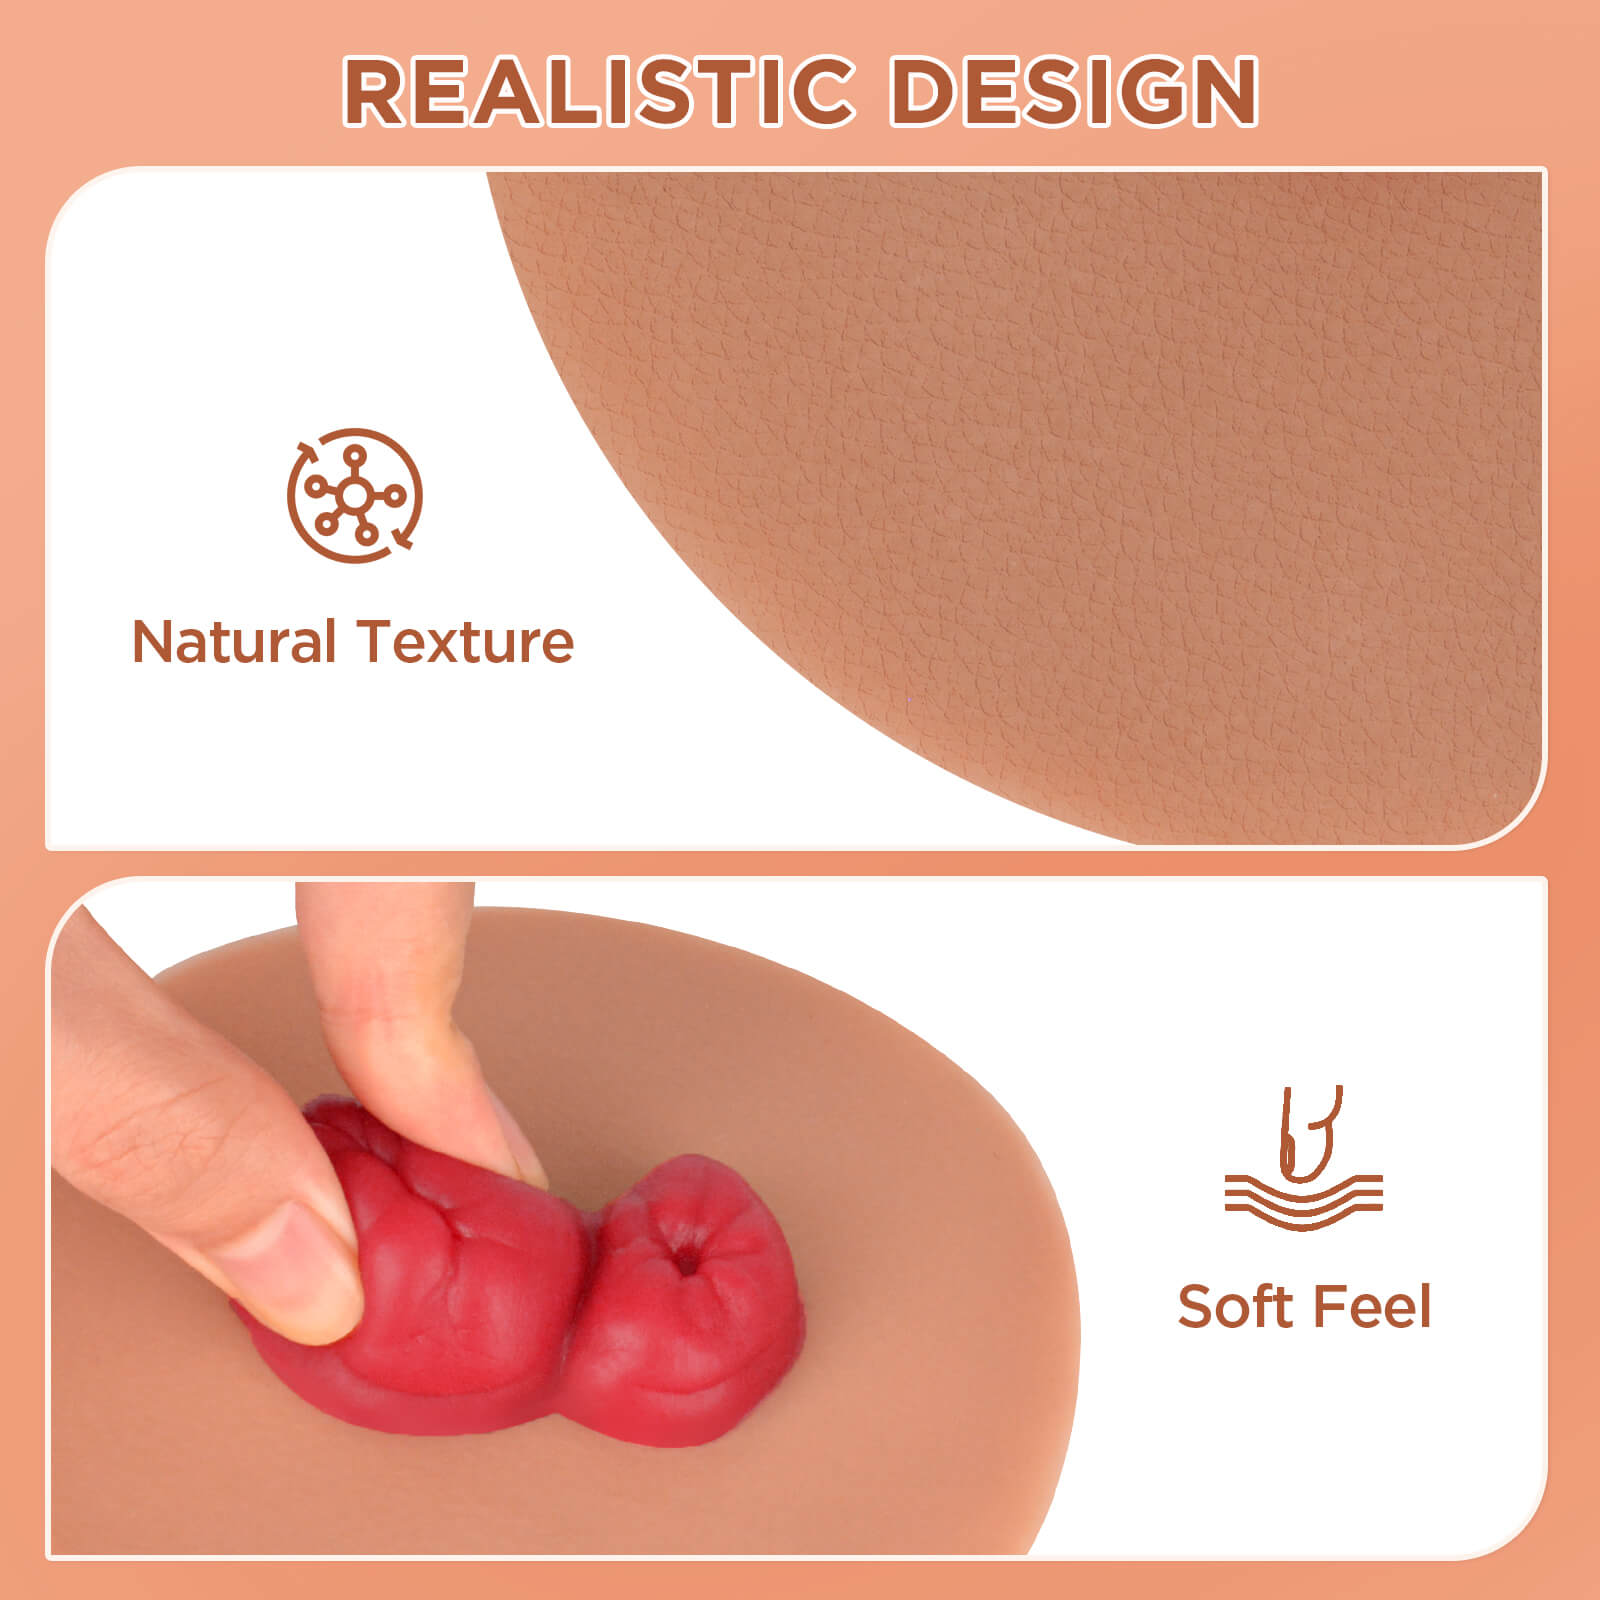
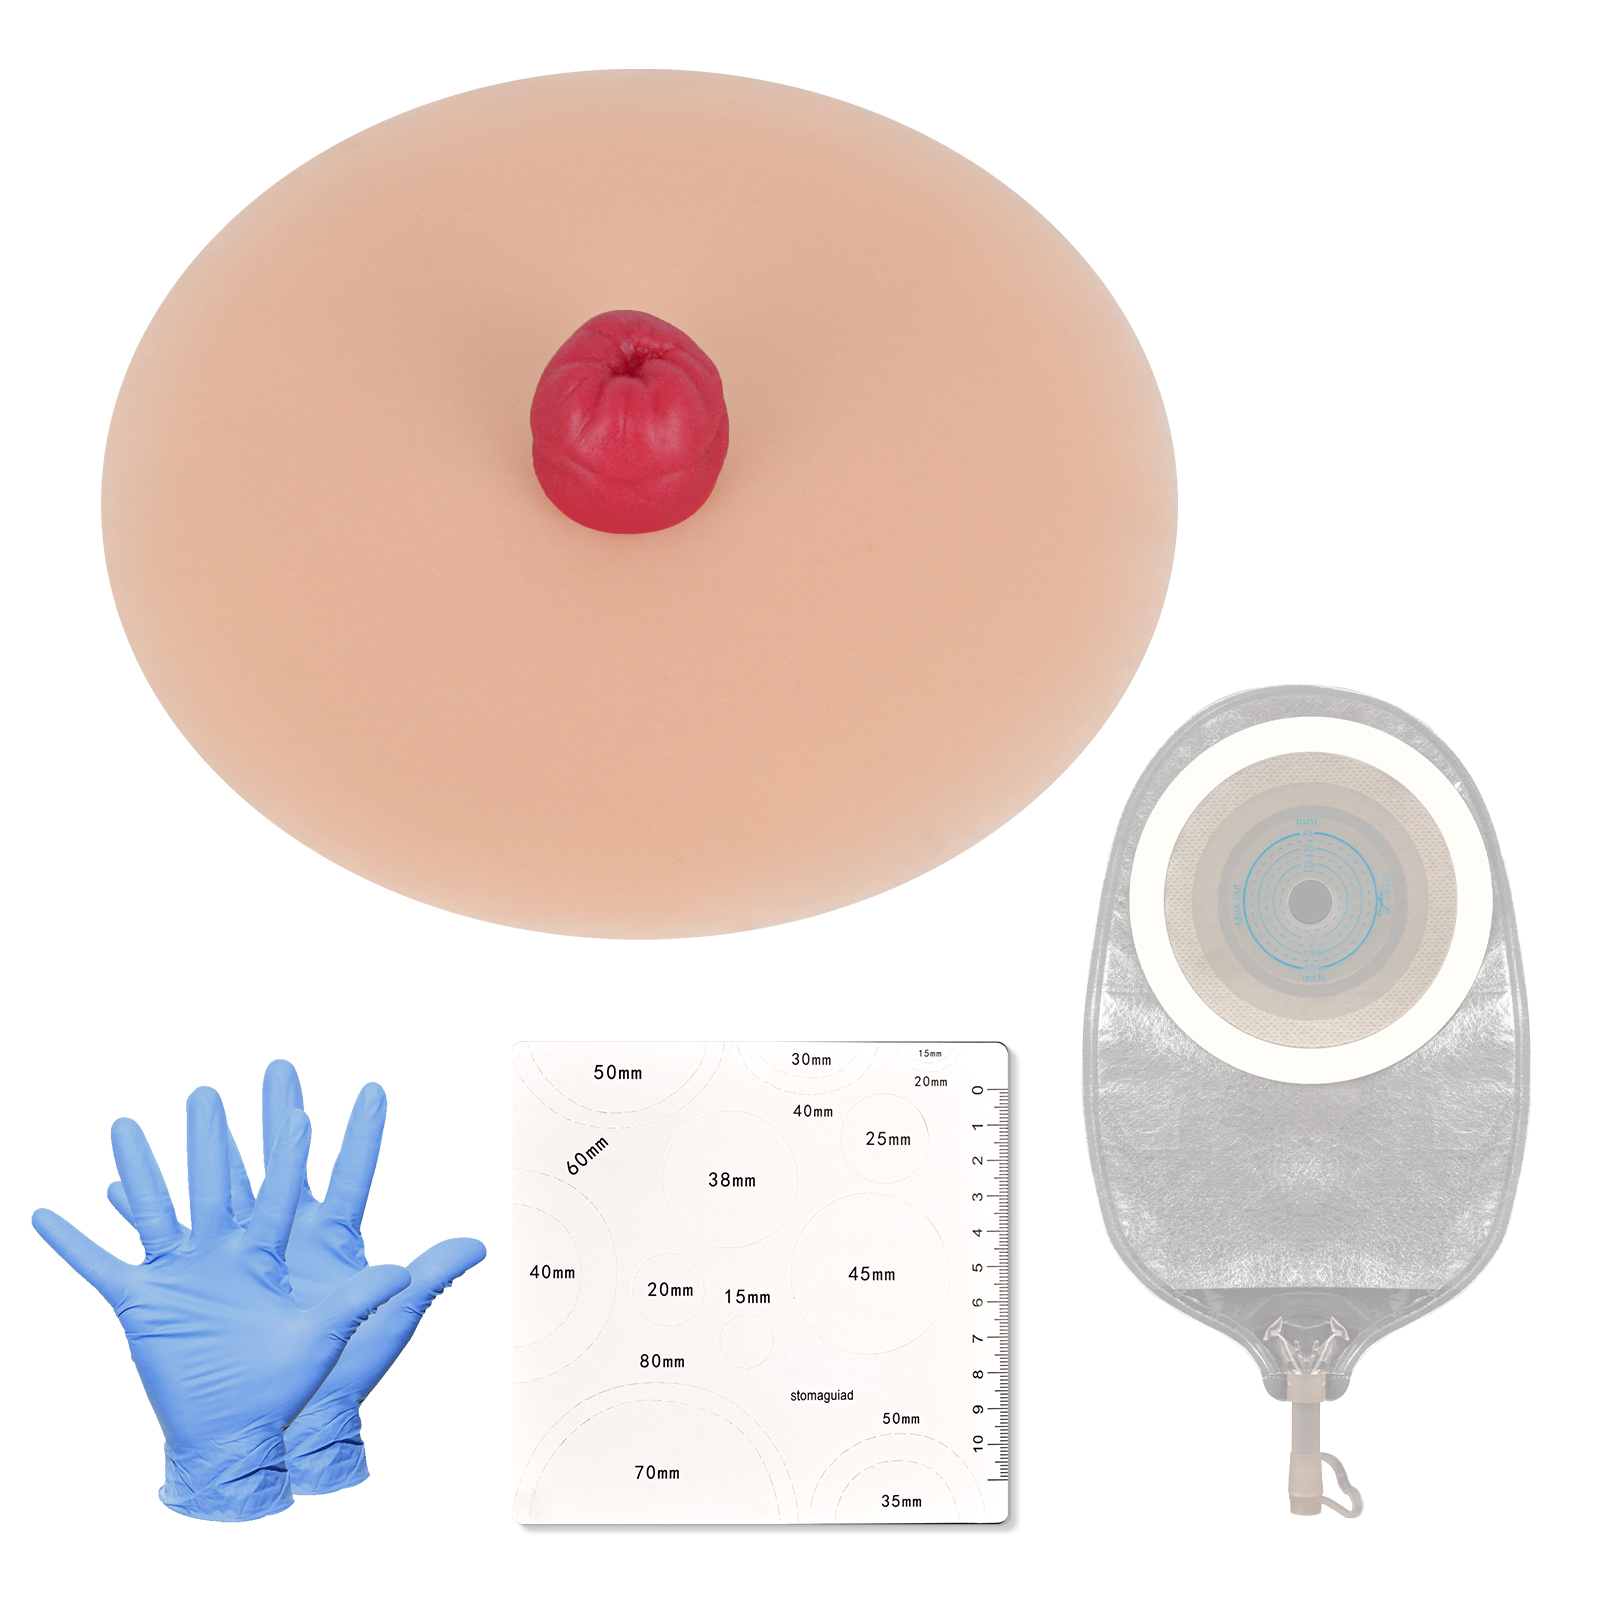
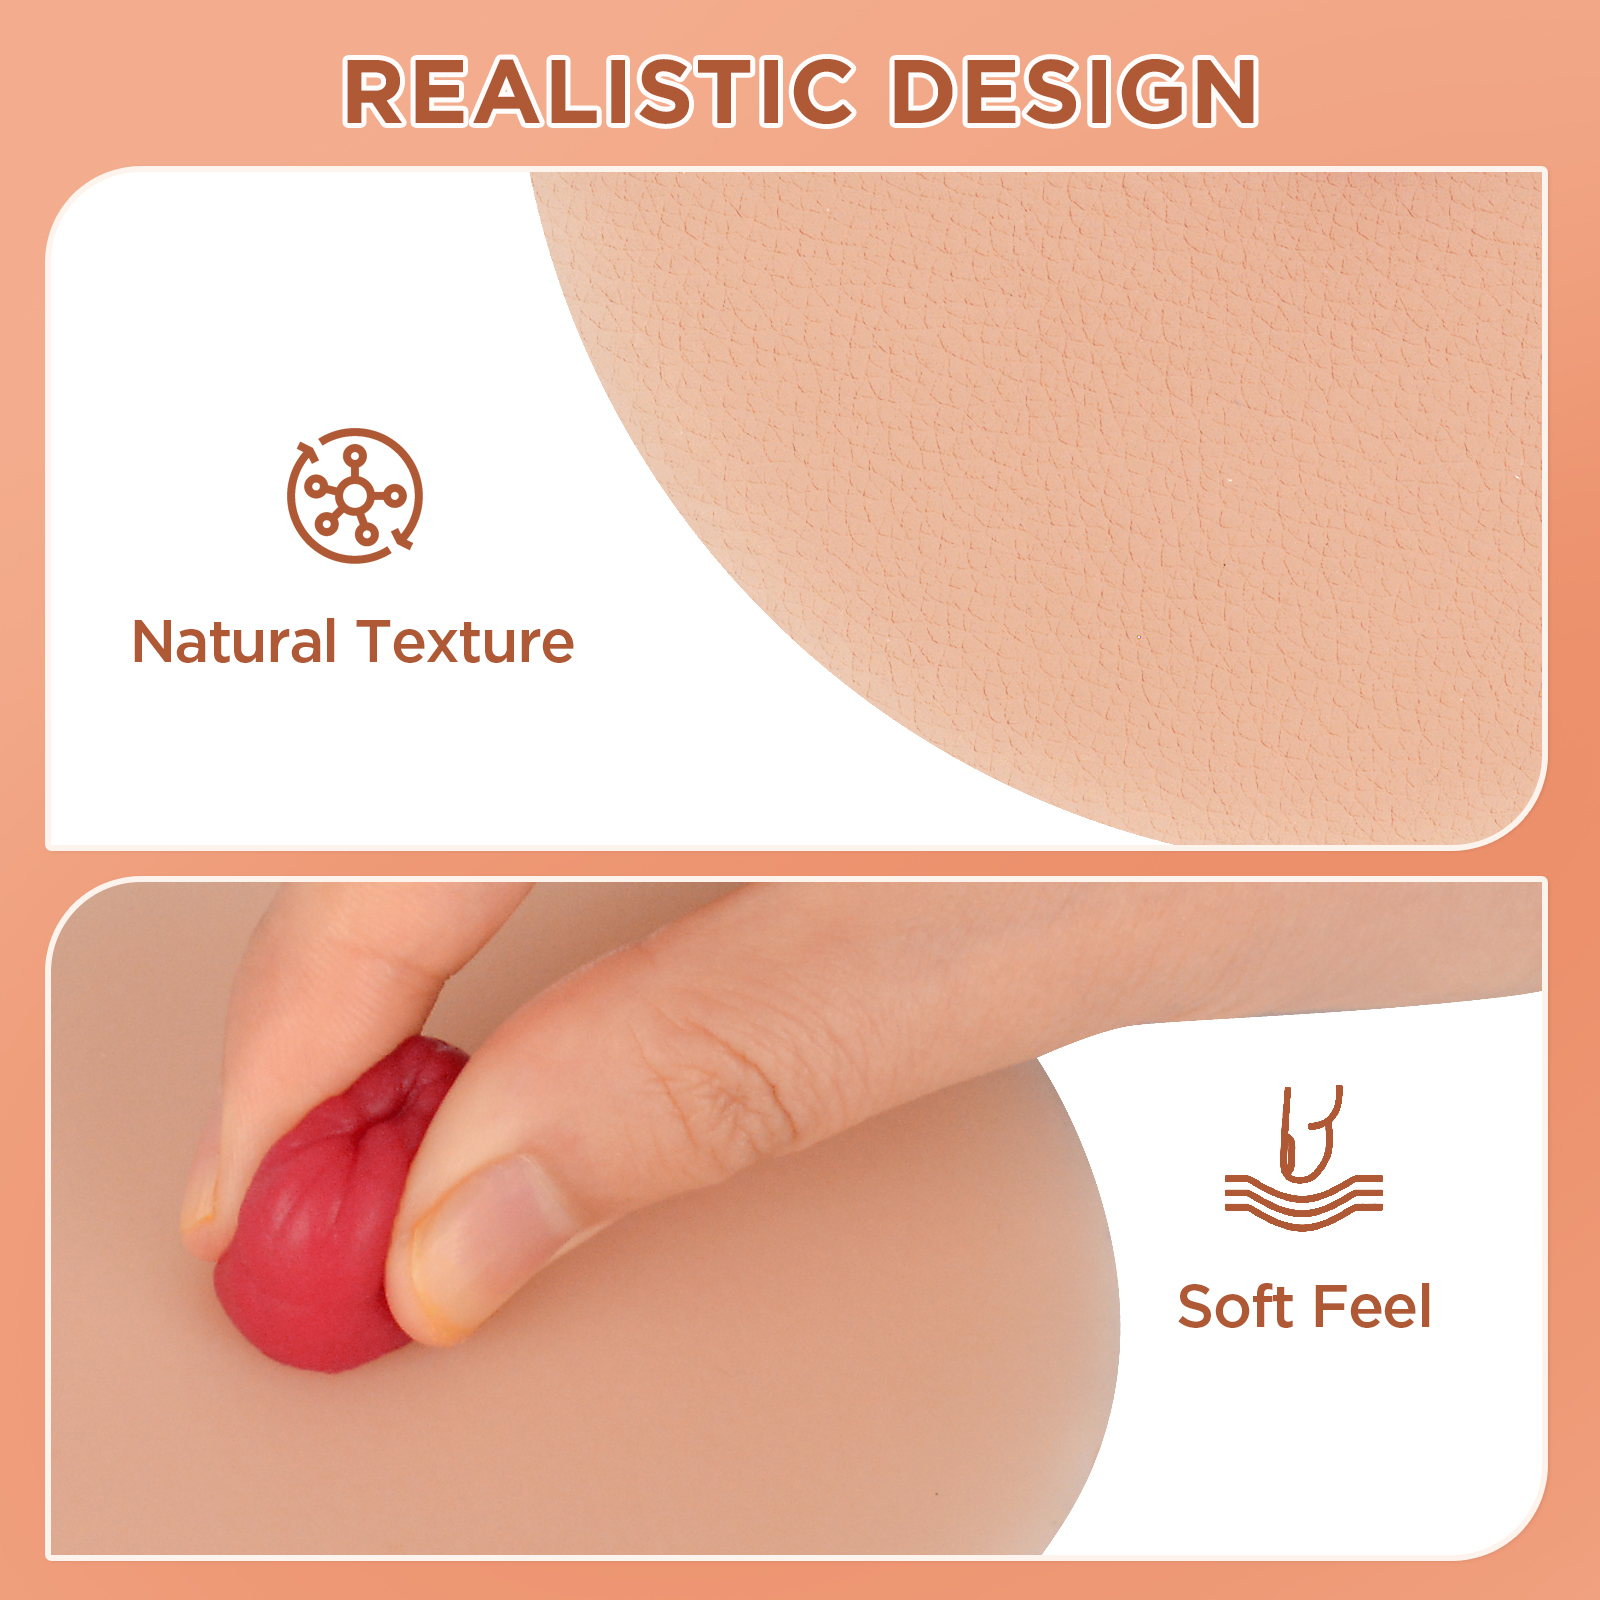
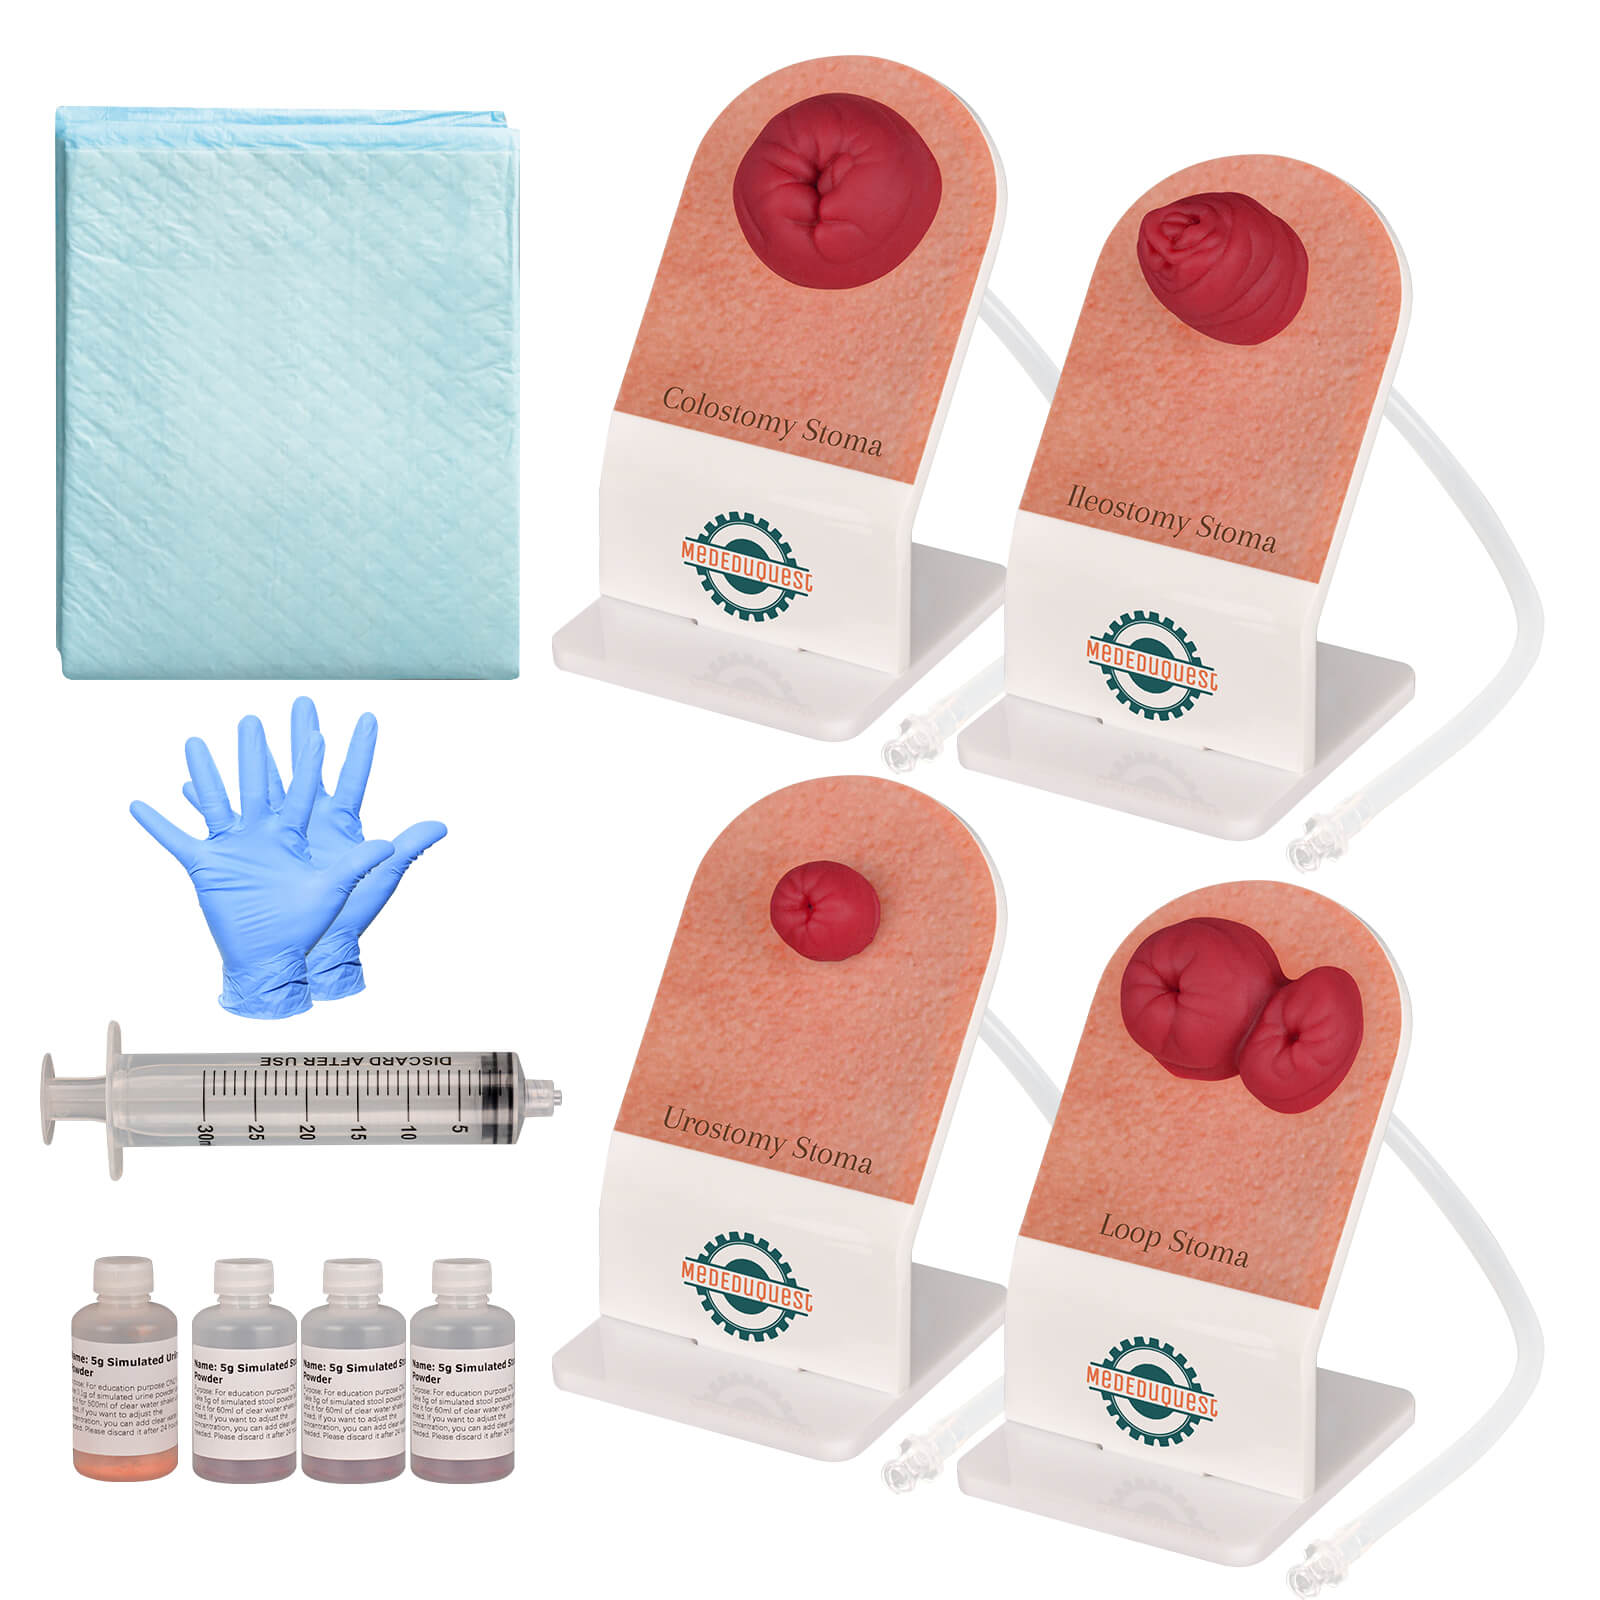
For students learning ostomy care, hands-on practice with realistic training models provides a safe way to develop confidence before performing the procedure with real patients.
Why Practice Ostomy Pouch Application?
Ostomy pouch application involves multiple skills that nurses need to perform accurately:
- Assessing the stoma and surrounding skin
- Measuring the stoma size
- Preparing the skin before appliance placement
- Applying the wafer correctly
- Creating a secure seal
- Removing and replacing the pouch safely
Repeated practice helps students build muscle memory and improve clinical confidence.
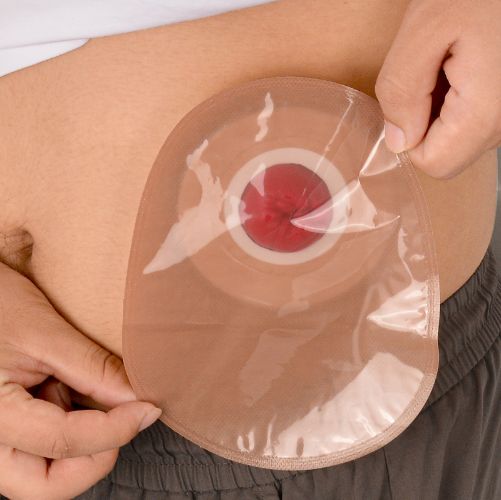
Step-by-Step Ostomy Pouch Application Practice
Step 1: Prepare Supplies and Practice Environment
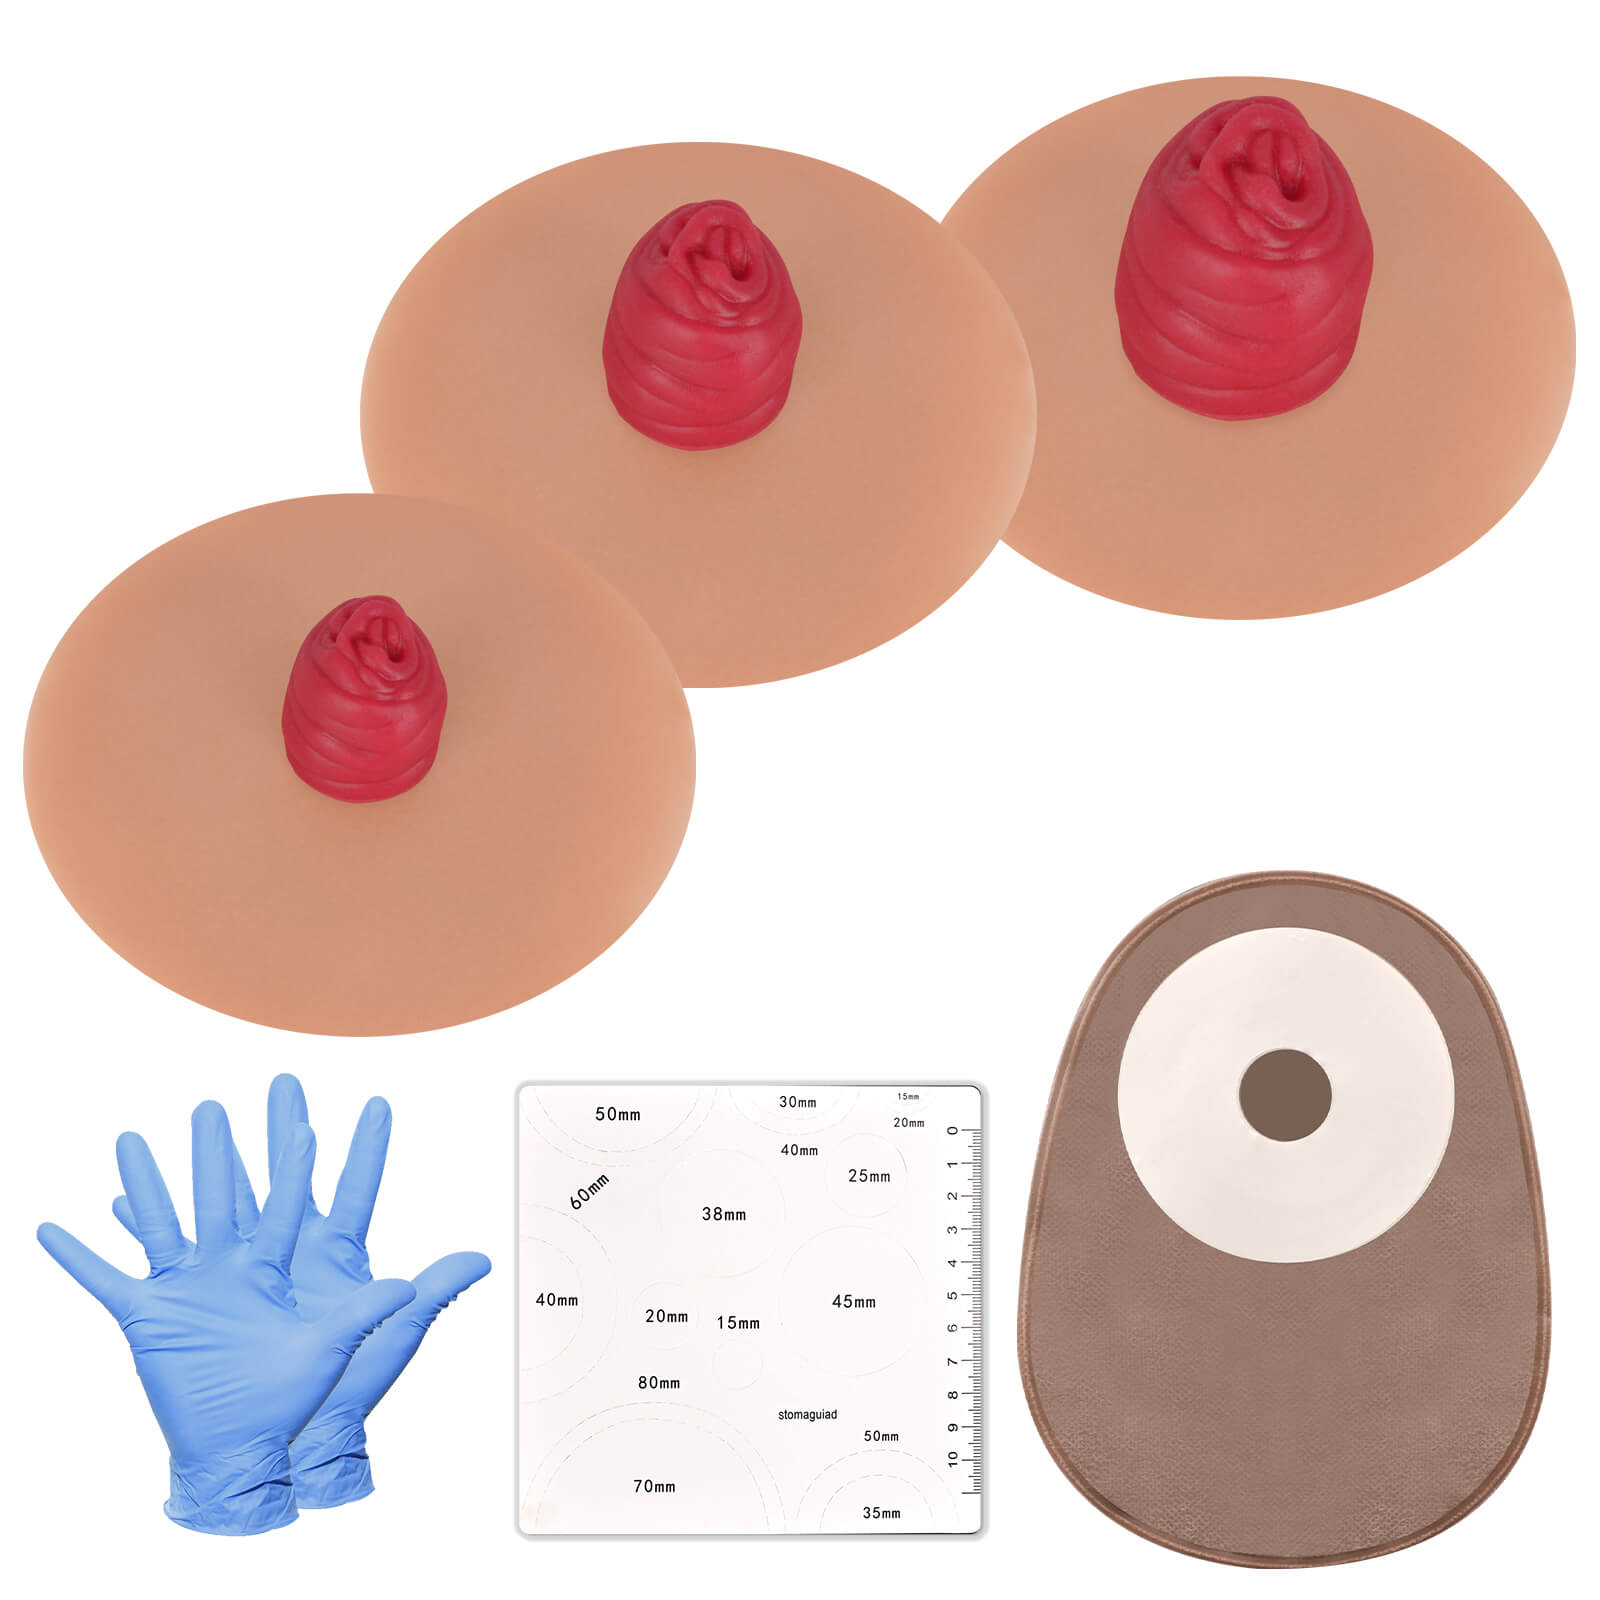
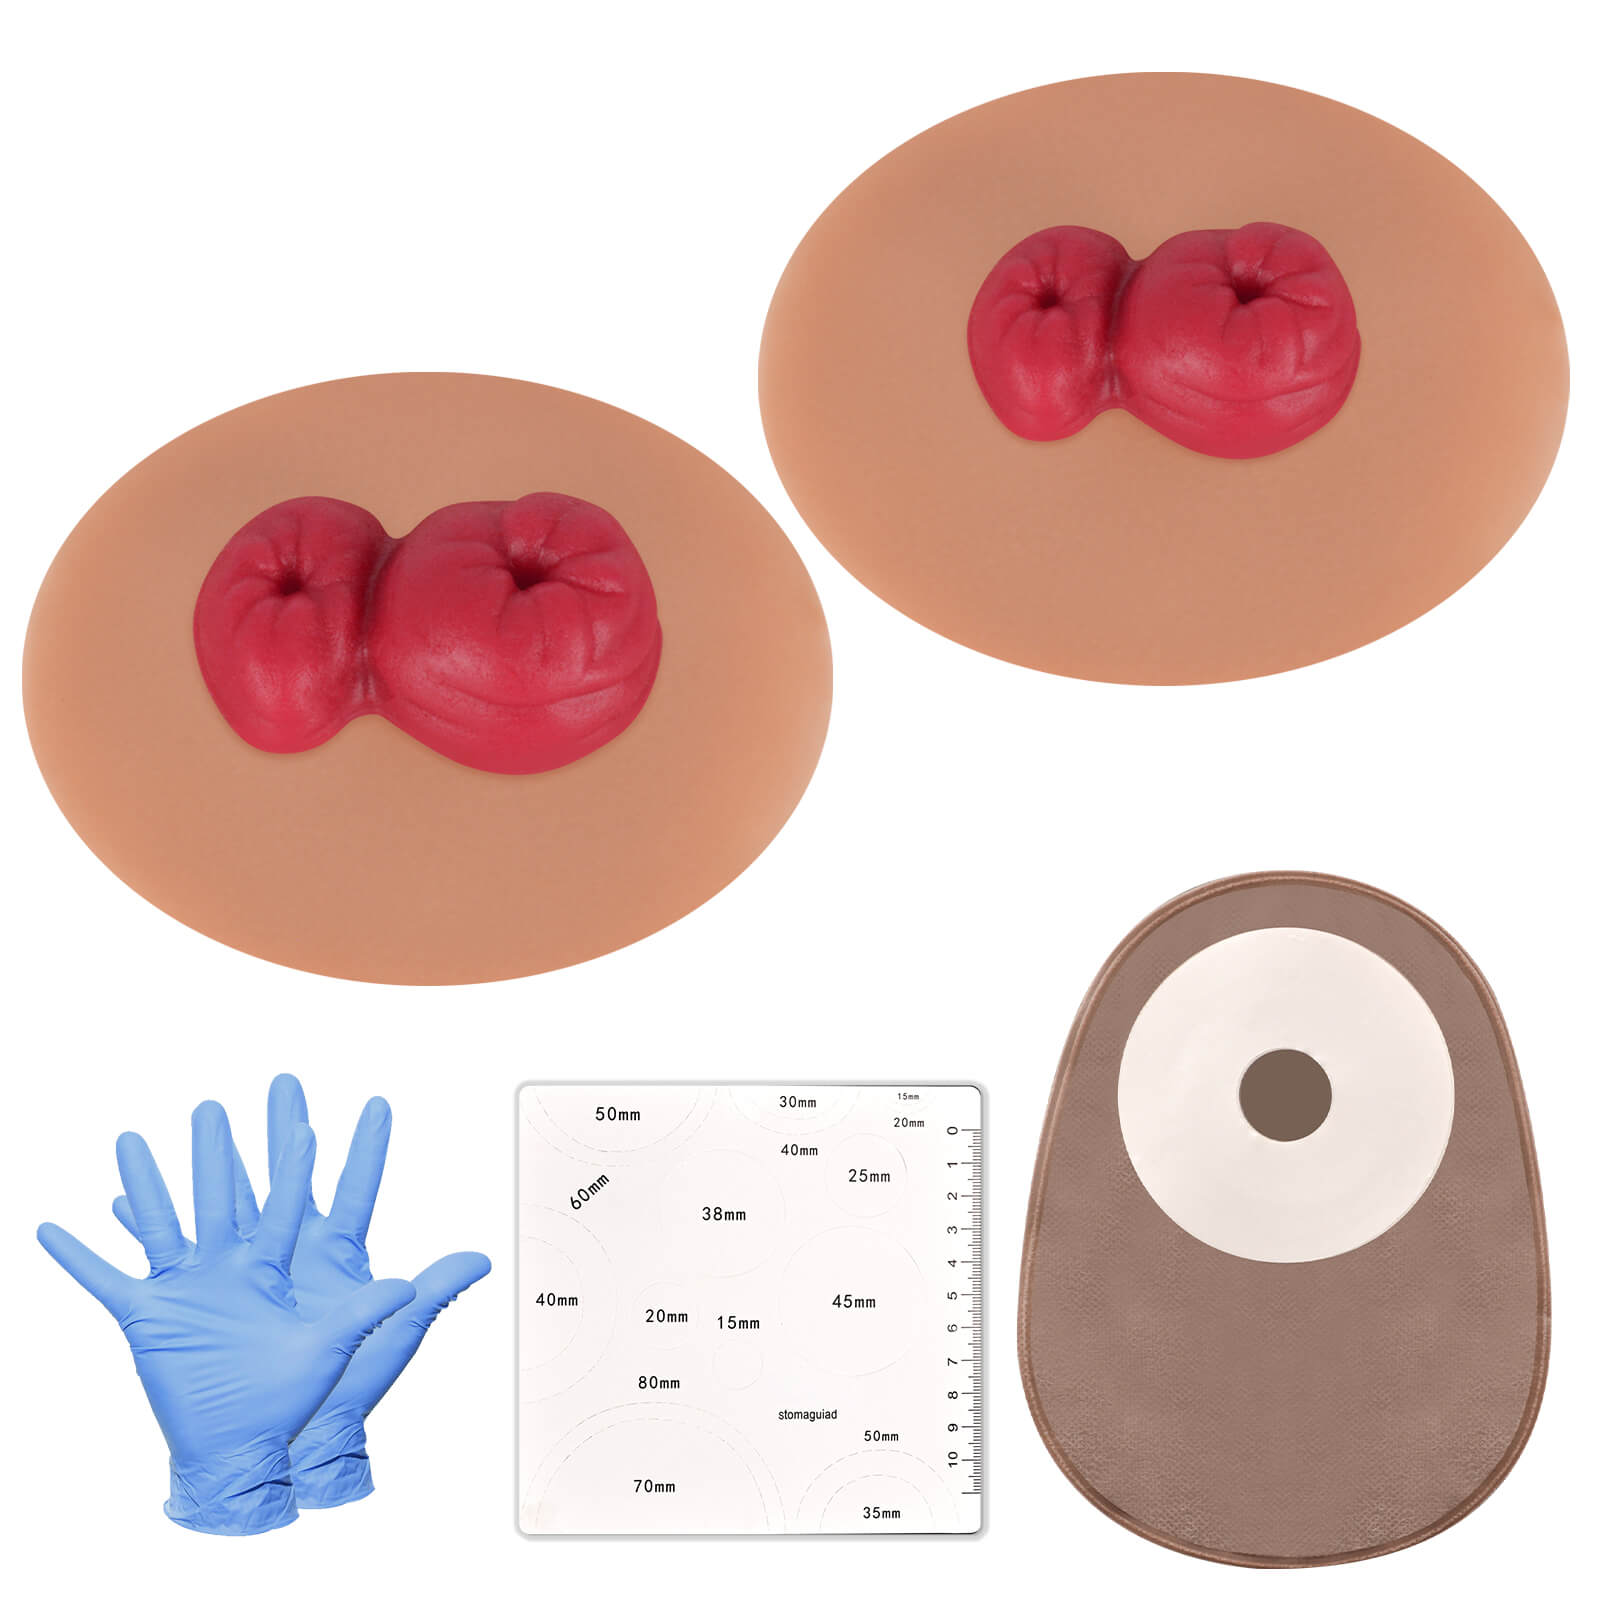
Before starting, gather all necessary supplies:
- Ostomy pouching system
- Wafer or skin barrier
- Measuring guide
- Scissors
- Skin preparation products
- Cleaning materials
- Gloves
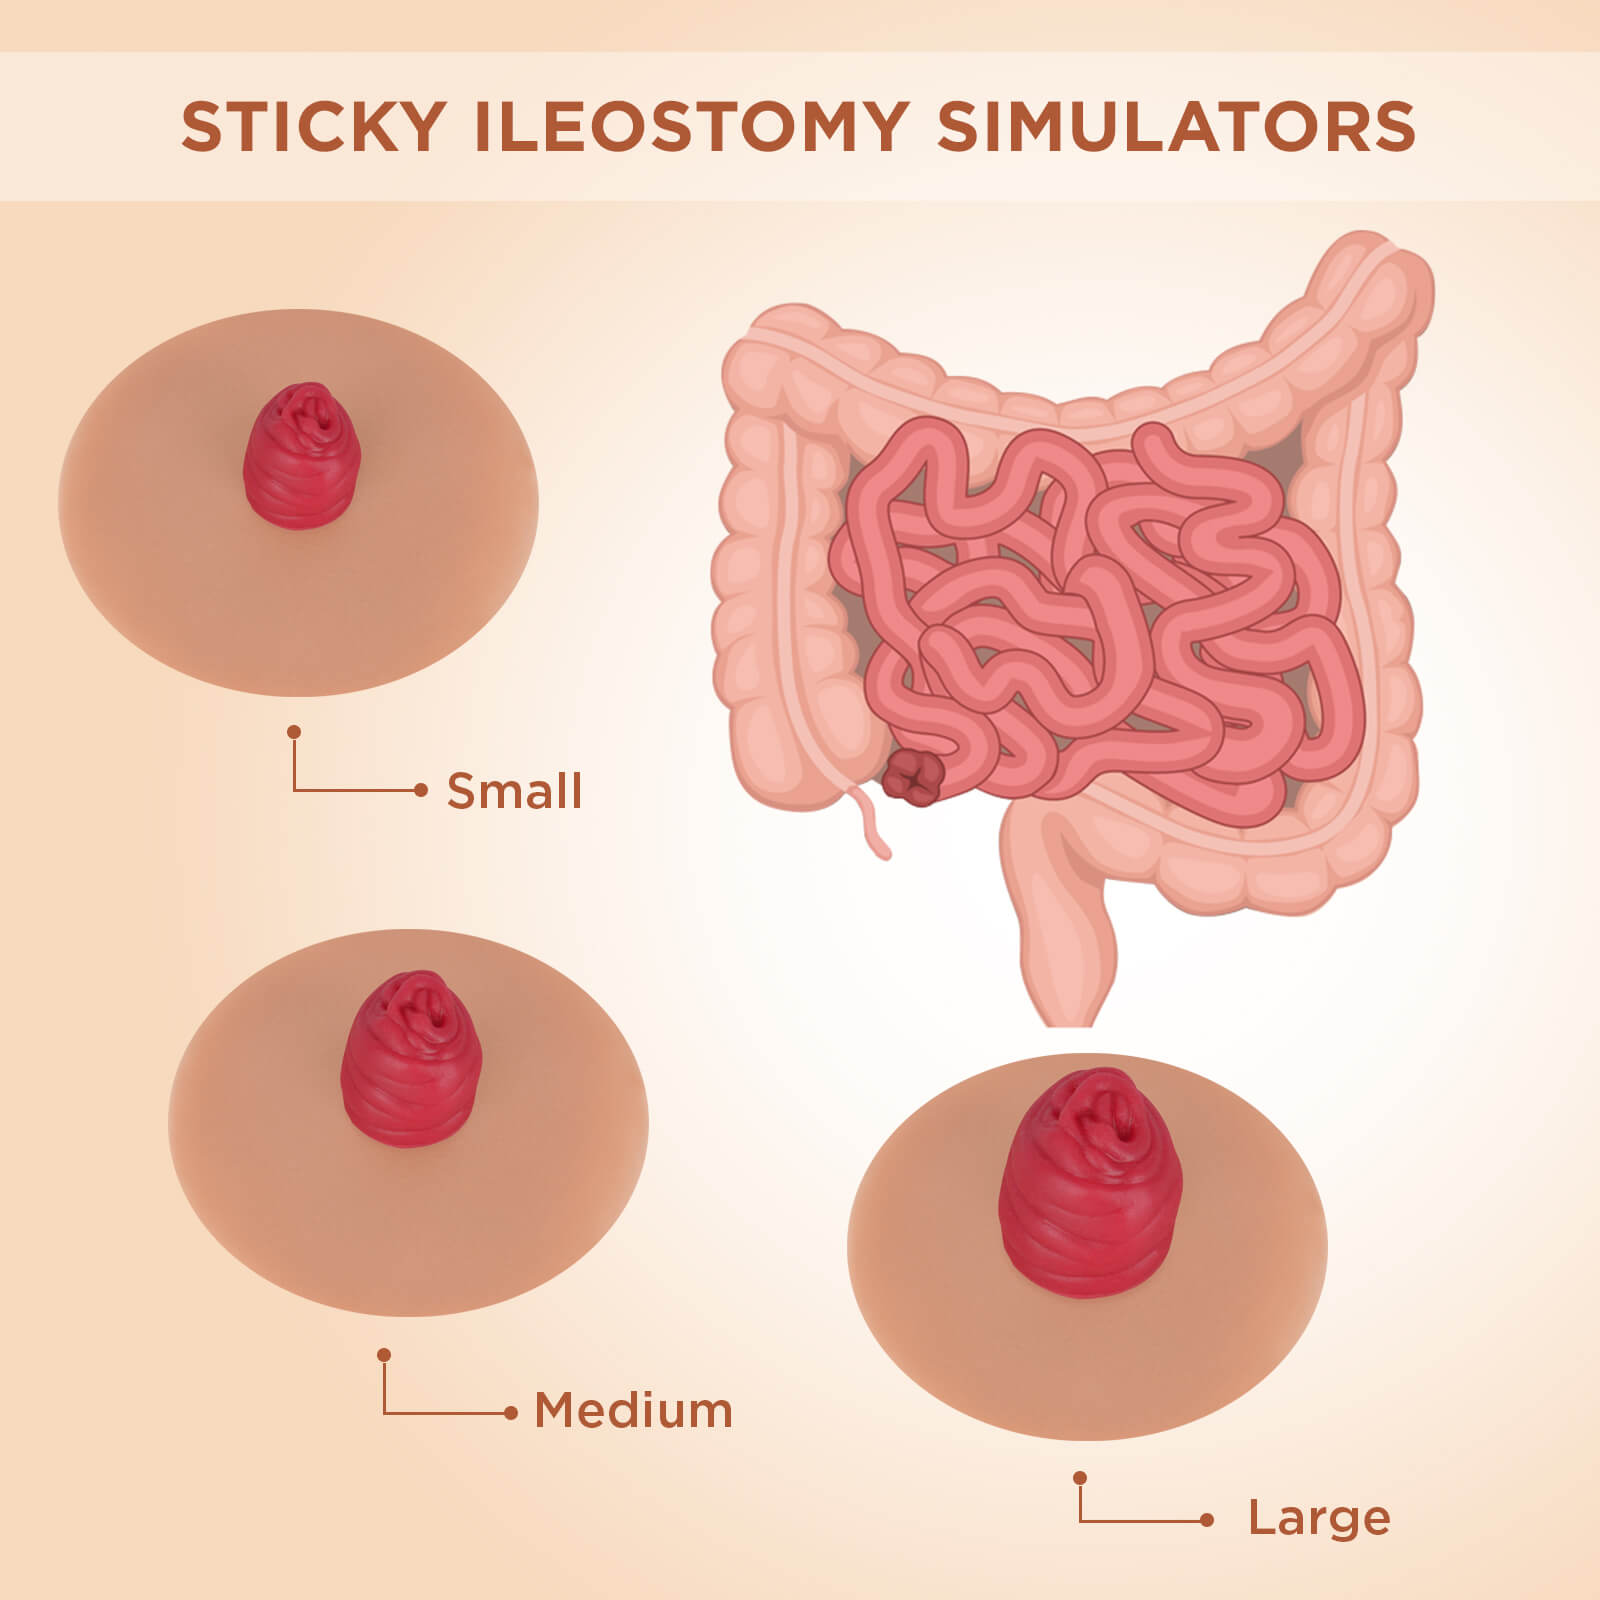
For nursing education, practicing with an ostomy training model allows students to focus on technique without patient discomfort or safety concerns.
Step 2: Assess the Stoma and Surrounding Skin
Before applying a new pouch, always perform a complete assessment.
Check:
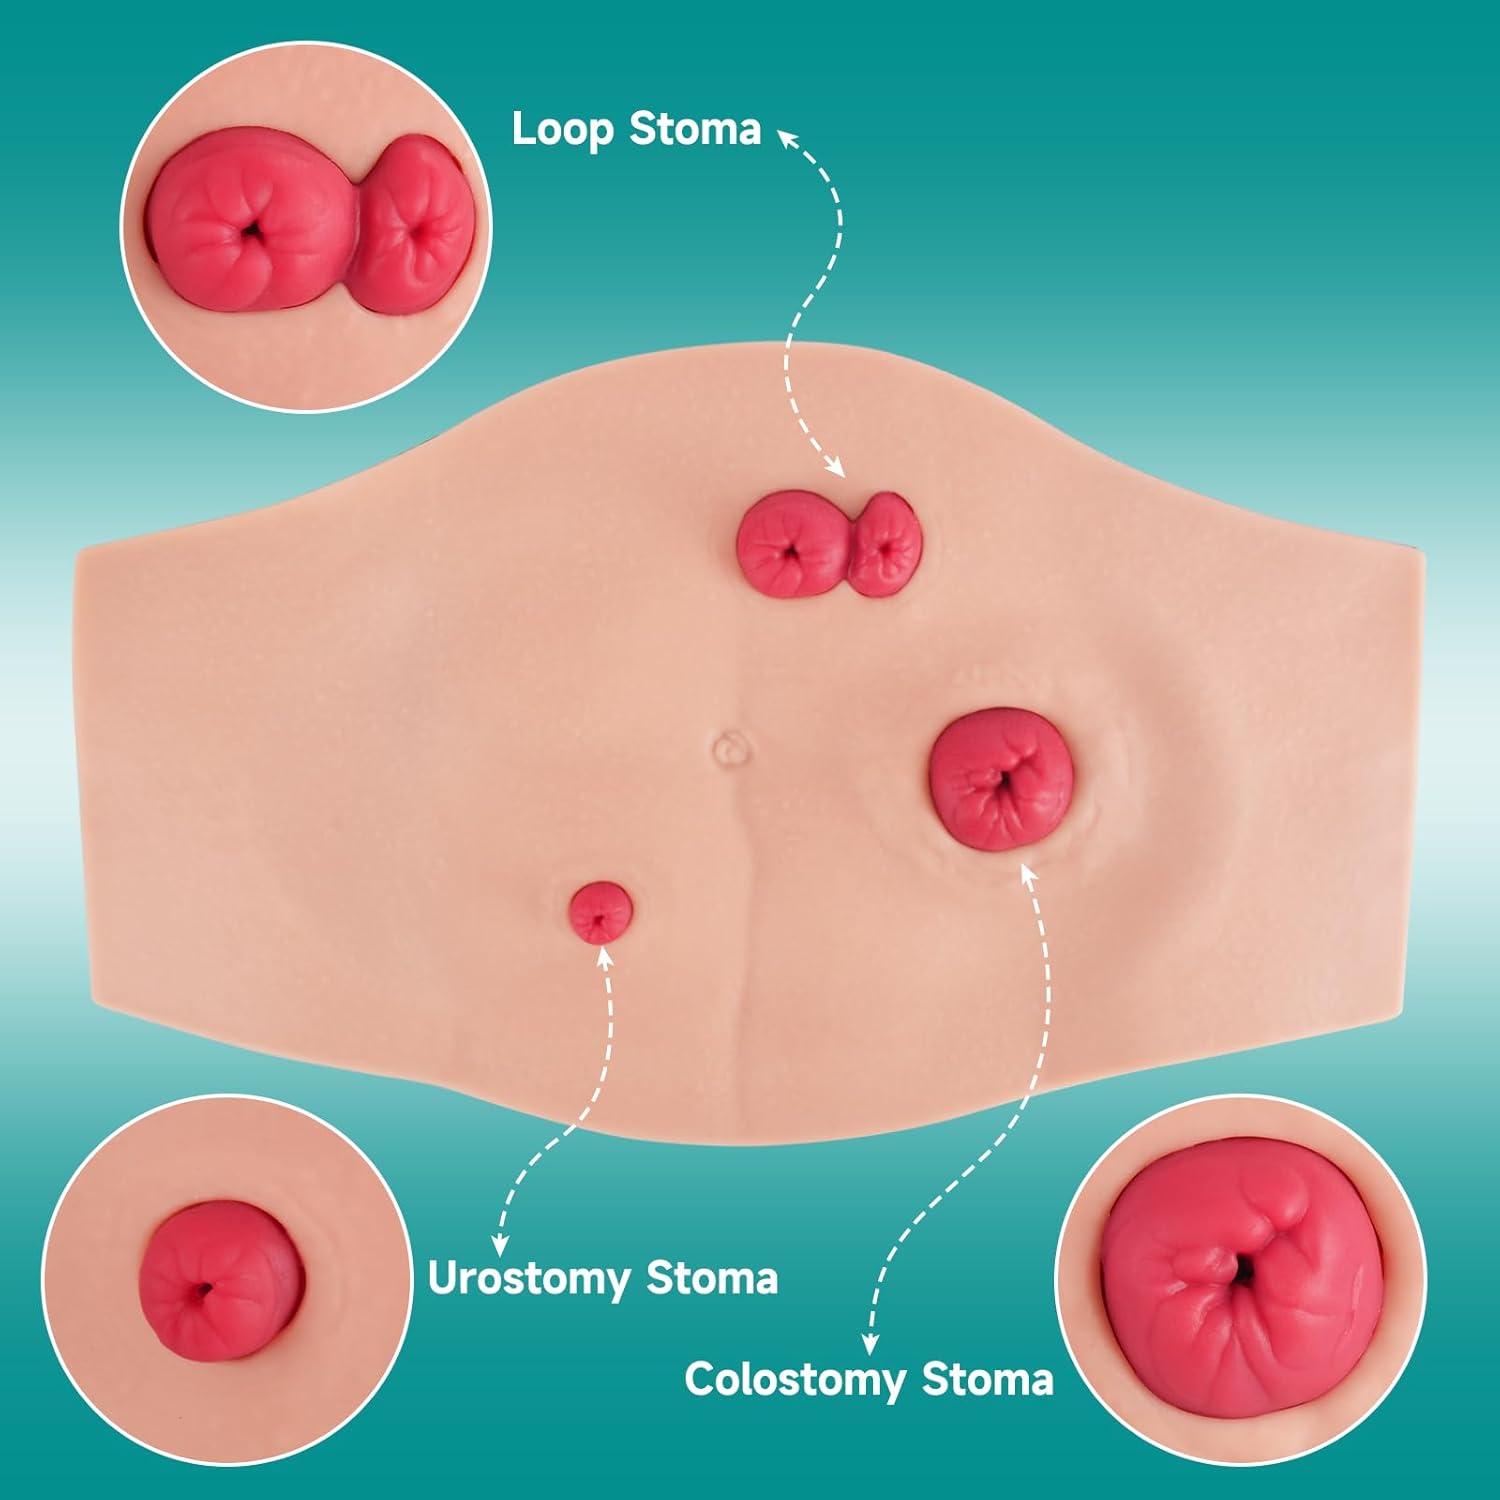
- Stoma color and appearance
- Stoma size and shape
- Swelling or changes
- Skin condition around the stoma
- Signs of irritation or leakage
A healthy stoma assessment helps determine the correct appliance fit and prevents complications.
Step 3: Remove the Existing Ostomy Appliance
When practicing appliance changes, students should learn safe removal techniques.
Key points:
- Remove the pouch gently to avoid skin damage
- Support the surrounding skin during removal
- Observe the skin condition after removal
- Dispose of used materials properly
Avoiding unnecessary pulling helps protect delicate peristomal skin.
Step 4: Clean and Prepare the Skin
Proper skin preparation is essential for a secure pouch seal.
Practice:
- Cleaning the skin around the stoma
- Allowing the area to dry completely
- Applying skin barriers when needed
- Ensuring the surface is ready for wafer placement
Healthy skin improves appliance adhesion and reduces the risk of leakage.
Step 5: Measure the Stoma and Prepare the Wafer
Accurate measurement is one of the most important steps in ostomy pouch application.
Students should practice:
- Measuring stoma size correctly
- Selecting the appropriate wafer opening
- Cutting the wafer to fit around the stoma
- Avoiding gaps that may expose surrounding skin
A properly fitted wafer provides better protection and comfort.
Step 6: Apply the Wafer and Secure the Pouch
Carefully apply the wafer around the stoma.
Practice steps:
- Position the wafer around the stoma
- Press gently to create a secure seal
- Attach the pouch according to the system design
- Check that all connections are secure
Students should learn to recognize whether the appliance feels properly fitted and sealed.
Step 7: Check the Final Fit
After application, evaluate the result.
Confirm:
☐ Wafer is positioned correctly
☐ No visible gaps around the stoma
☐ Pouch is securely attached
☐ Patient comfort considerations are addressed
☐ Skin remains protected
A final check helps prevent early leakage and appliance failure.
Common Mistakes During Ostomy Pouch Application
- Incorrect Wafer Size
A wafer opening that is too large may expose skin to output and increase irritation risk.
- Poor Skin Preparation
Moisture or residue can reduce adhesion and cause leakage.
- Skipping Stoma Assessment
Every pouch change should begin with evaluating the stoma and surrounding skin.
- Applying Without Practice
Students may understand the steps but struggle with technique without repeated hands-on experience.
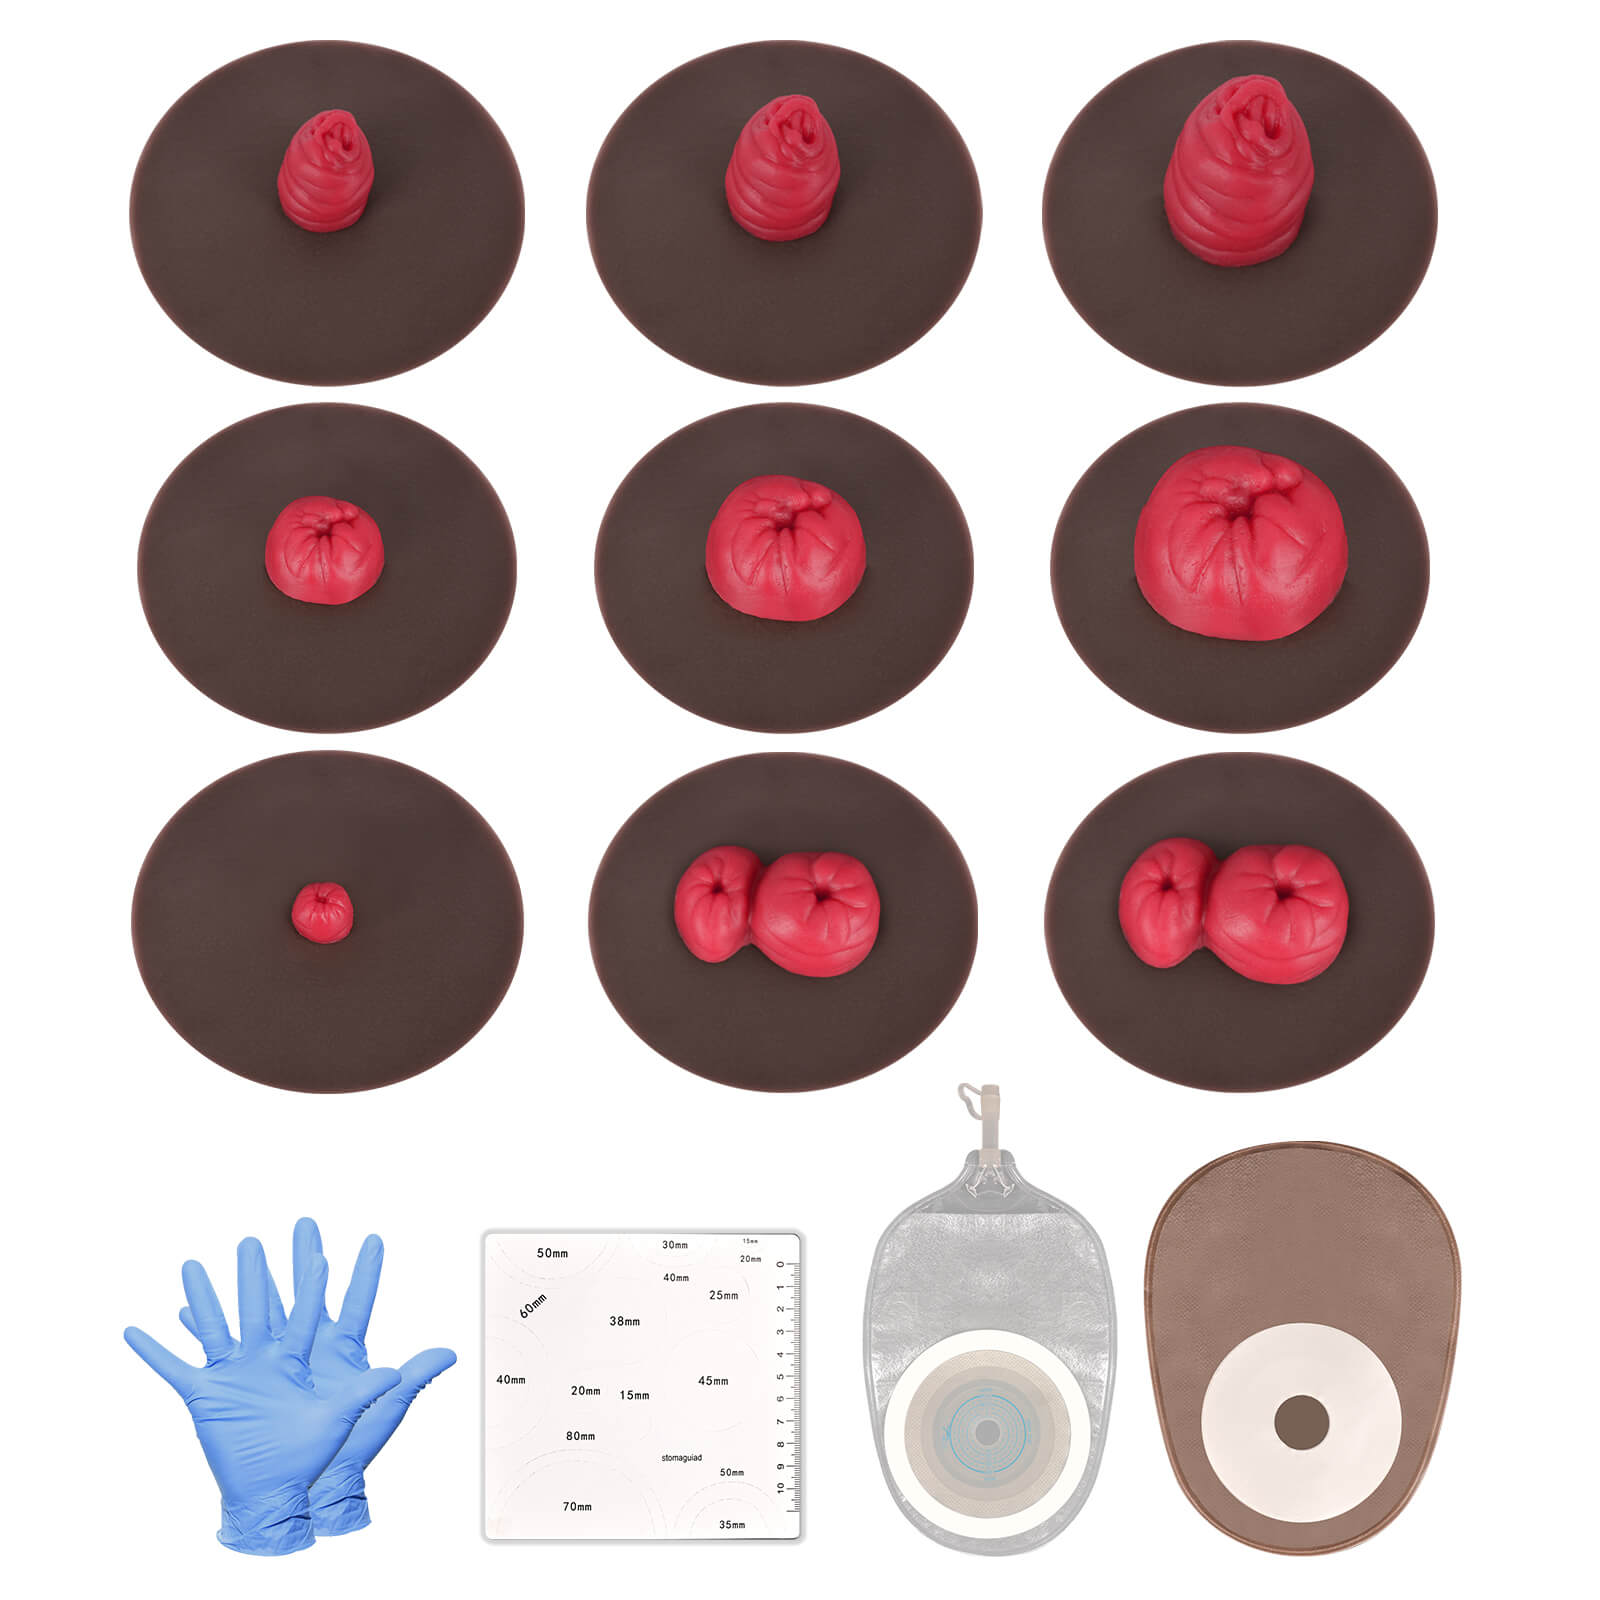
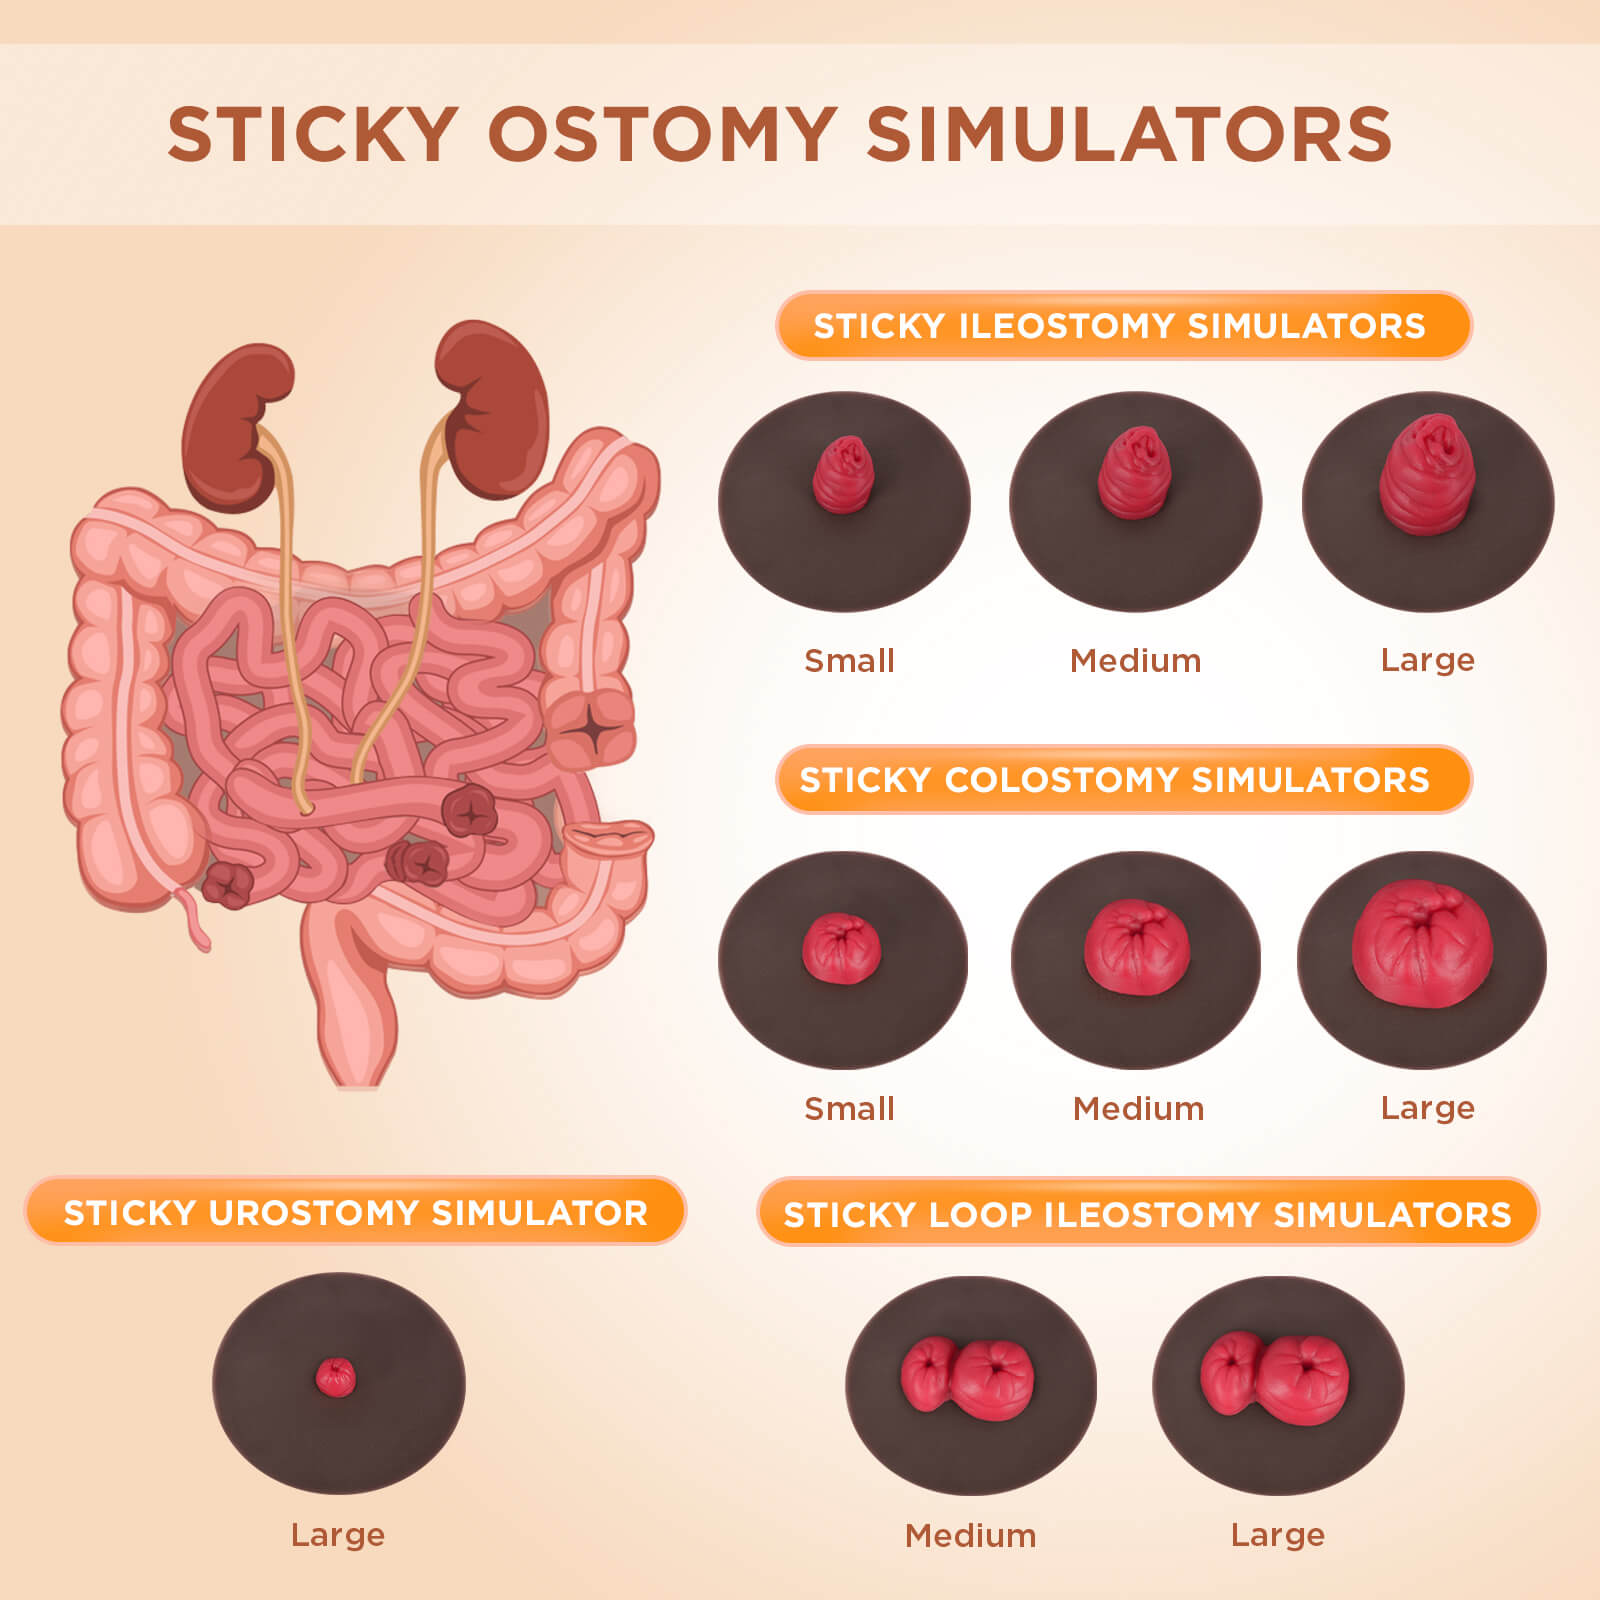
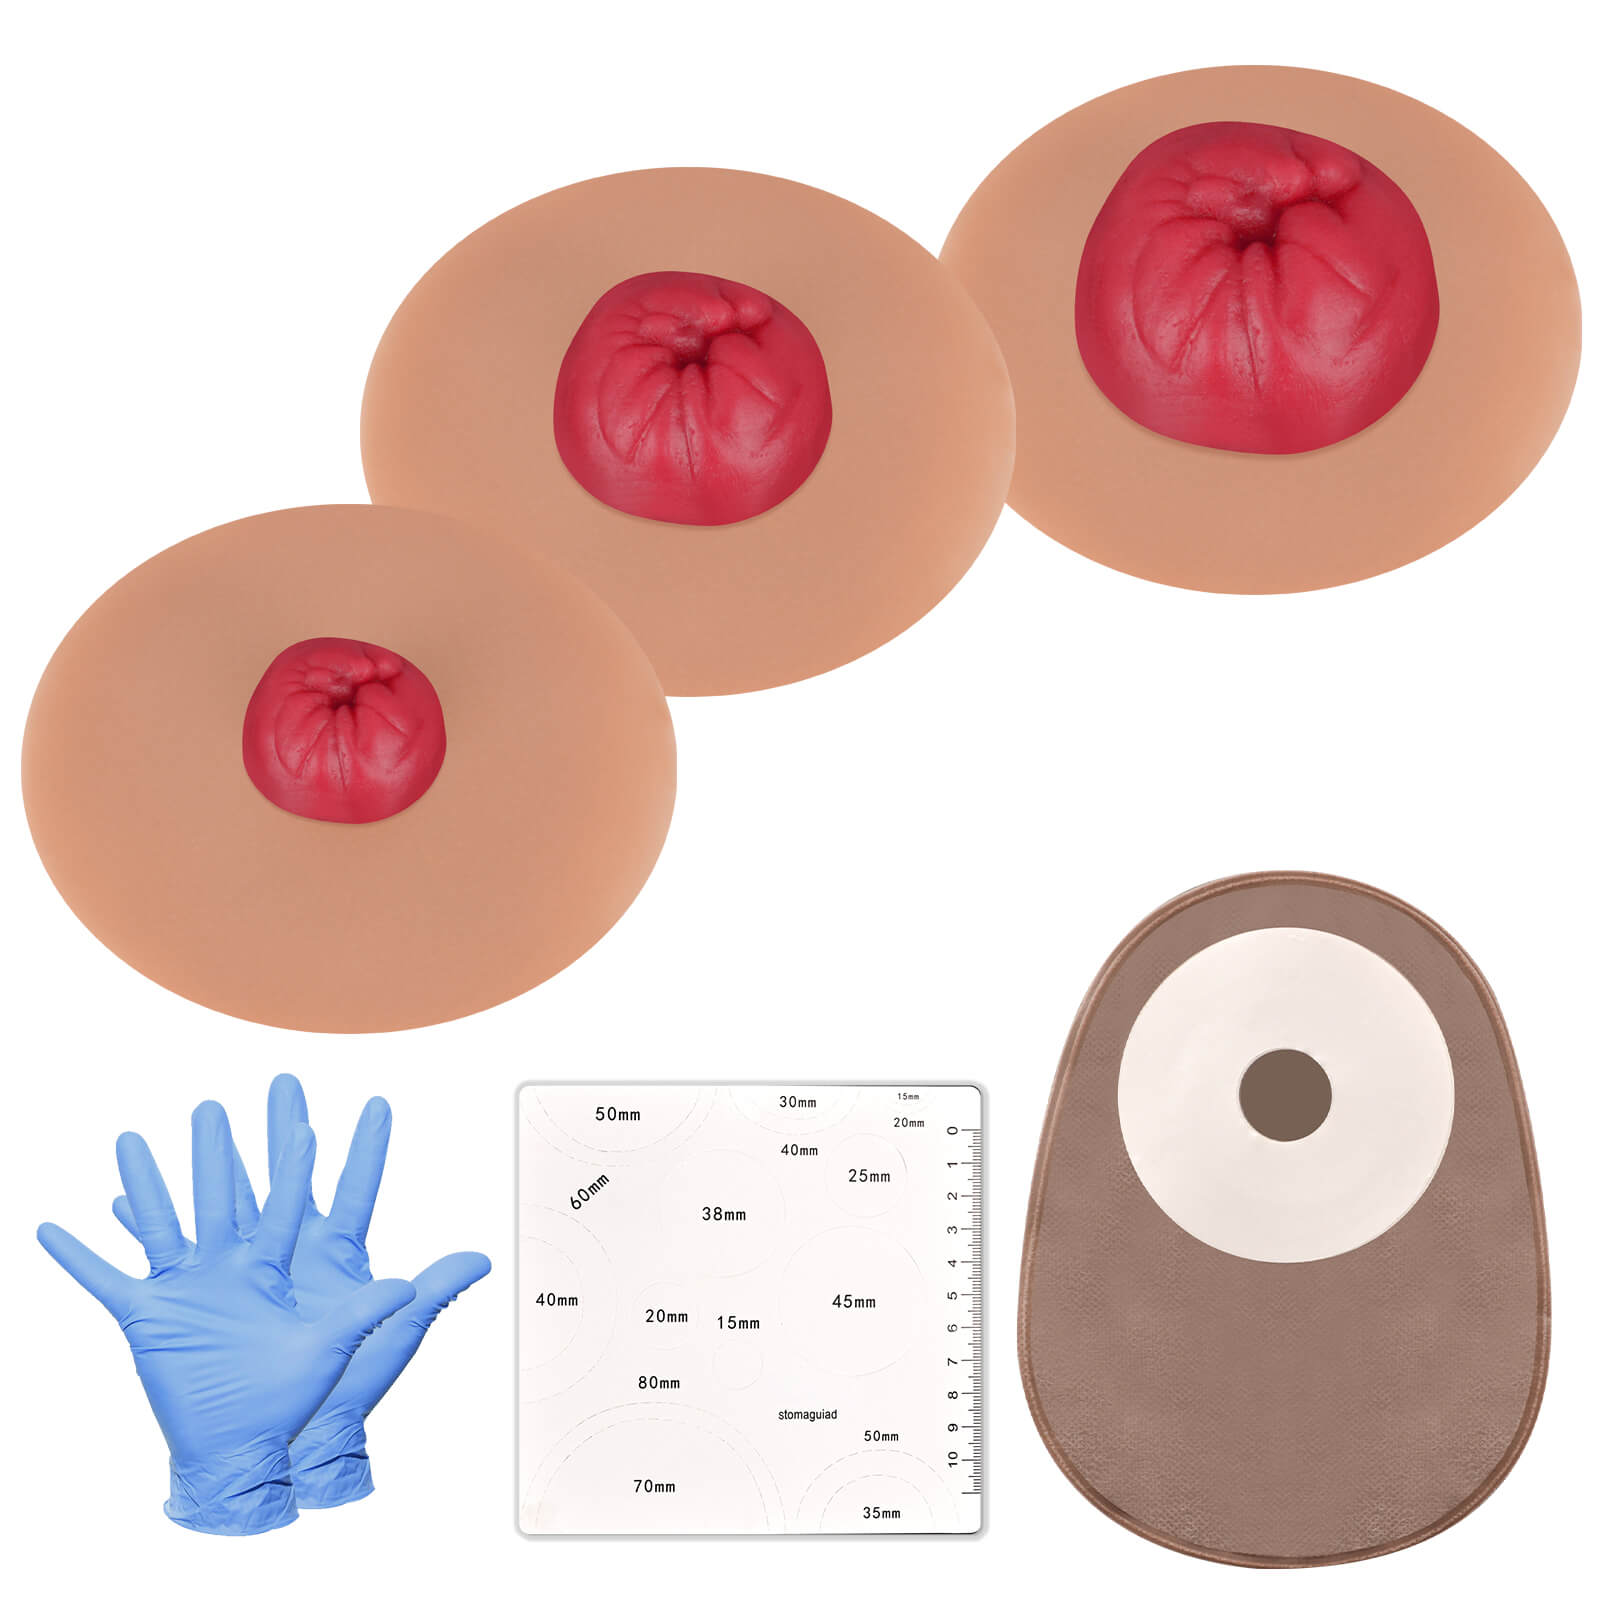
Practicing Ostomy Pouch Application with Simulation Models
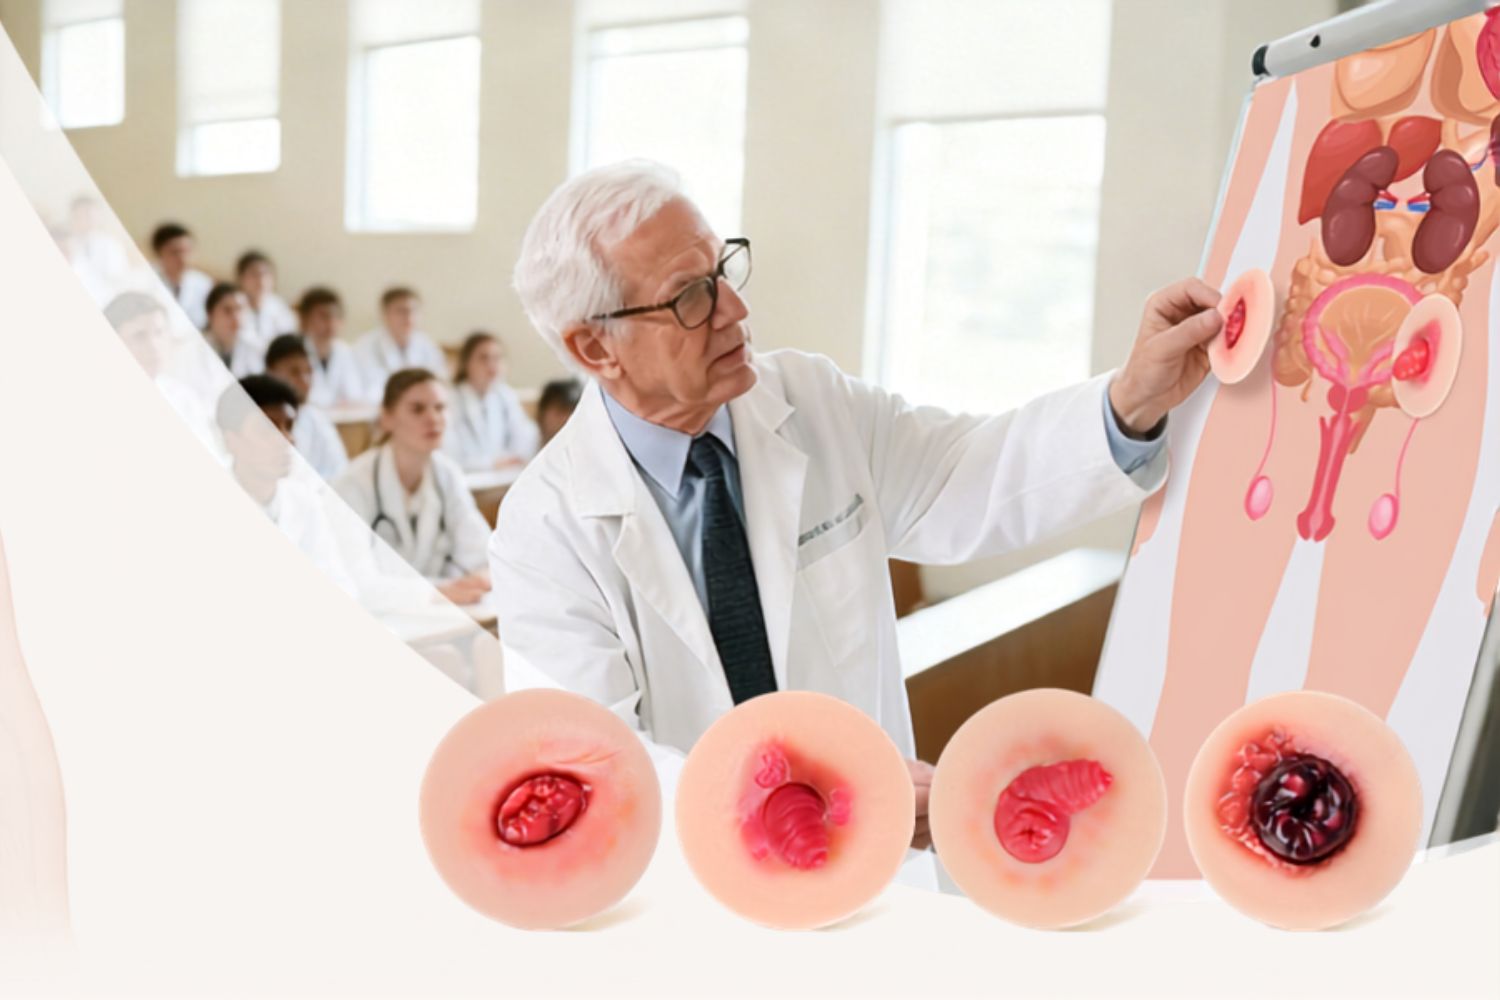
Simulation-based training allows students to repeat ostomy appliance changes in a realistic but safe environment.
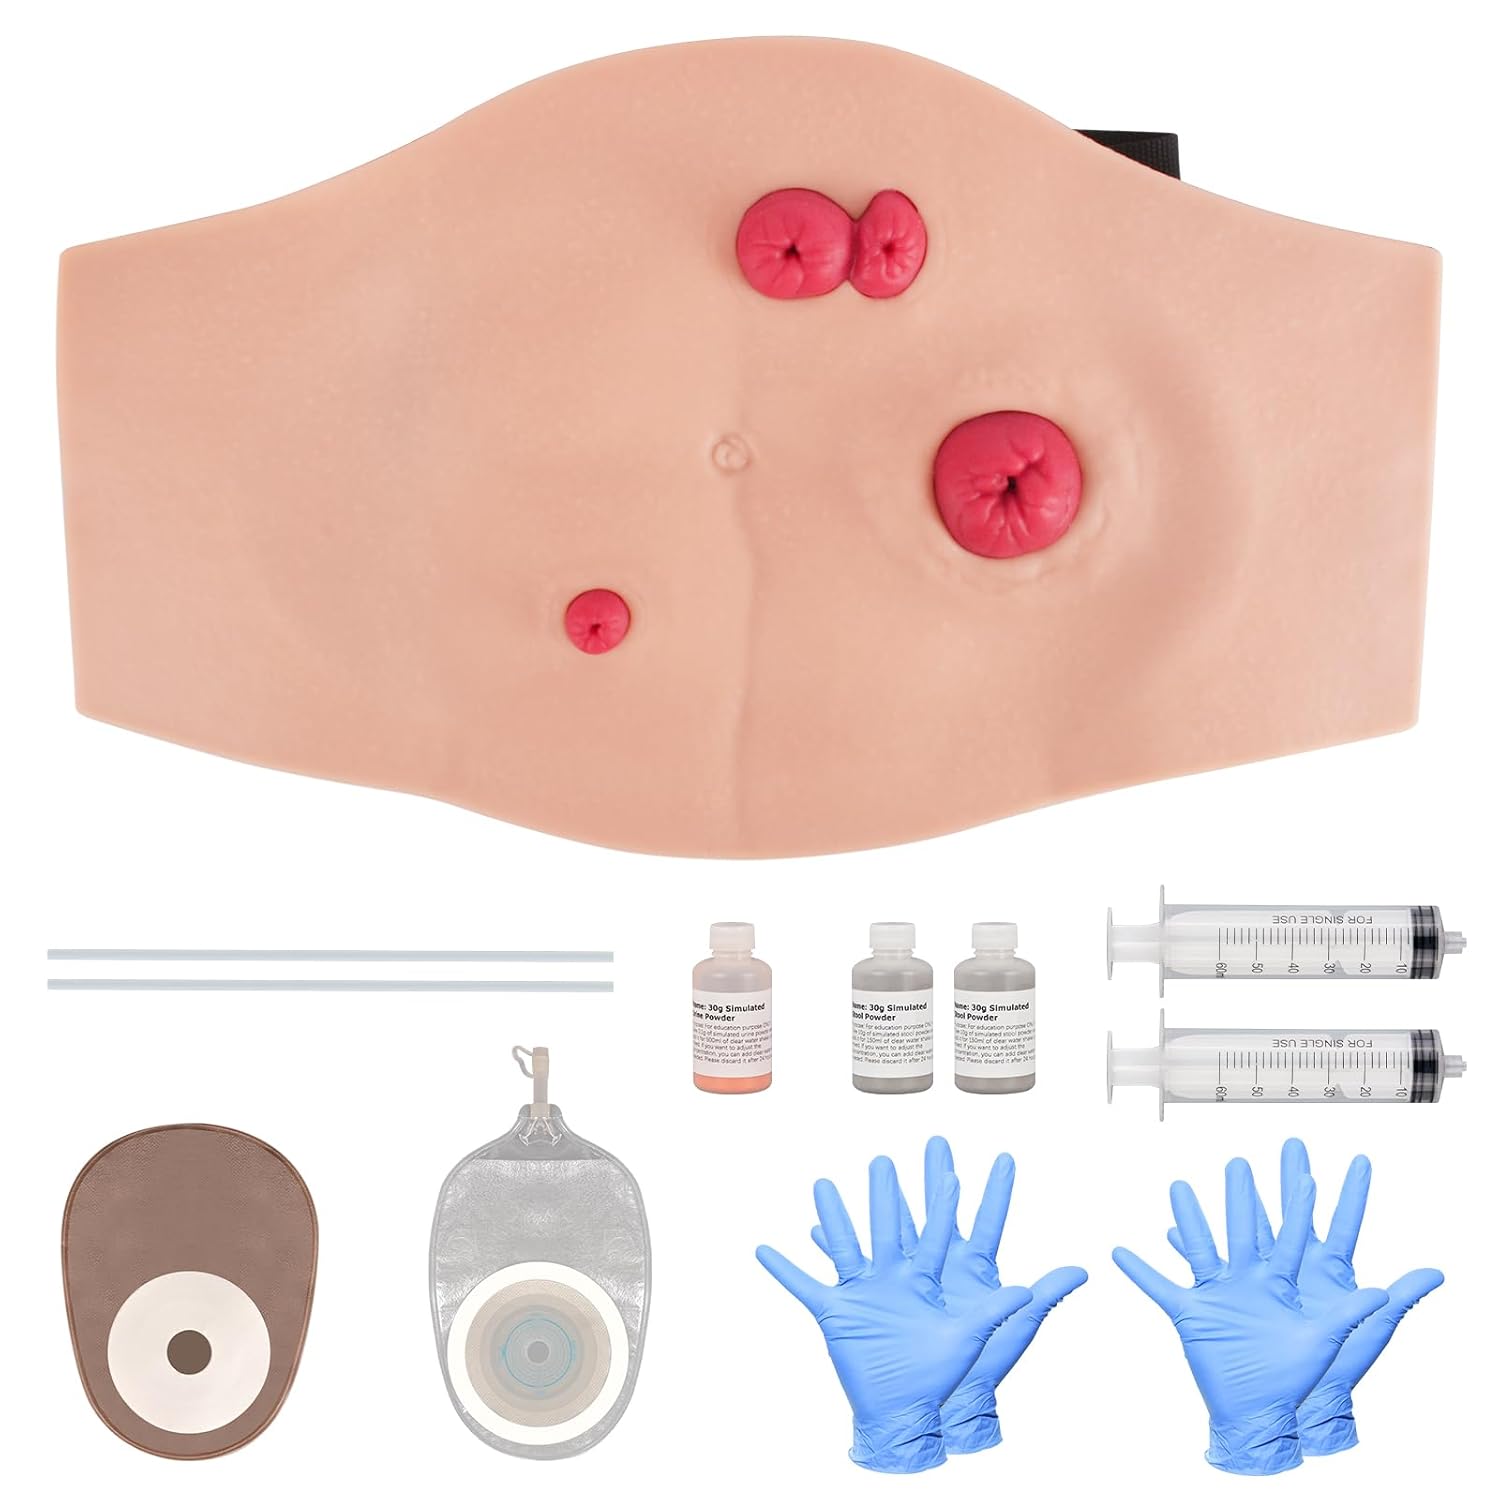
Using ostomy training models, students can practice:
- Stoma assessment
- Pouch removal and replacement
- Wafer measurement
- Appliance fitting
- Leakage prevention techniques
Unlike learning from videos or textbooks alone, hands-on simulation helps students develop the confidence needed for clinical practice.
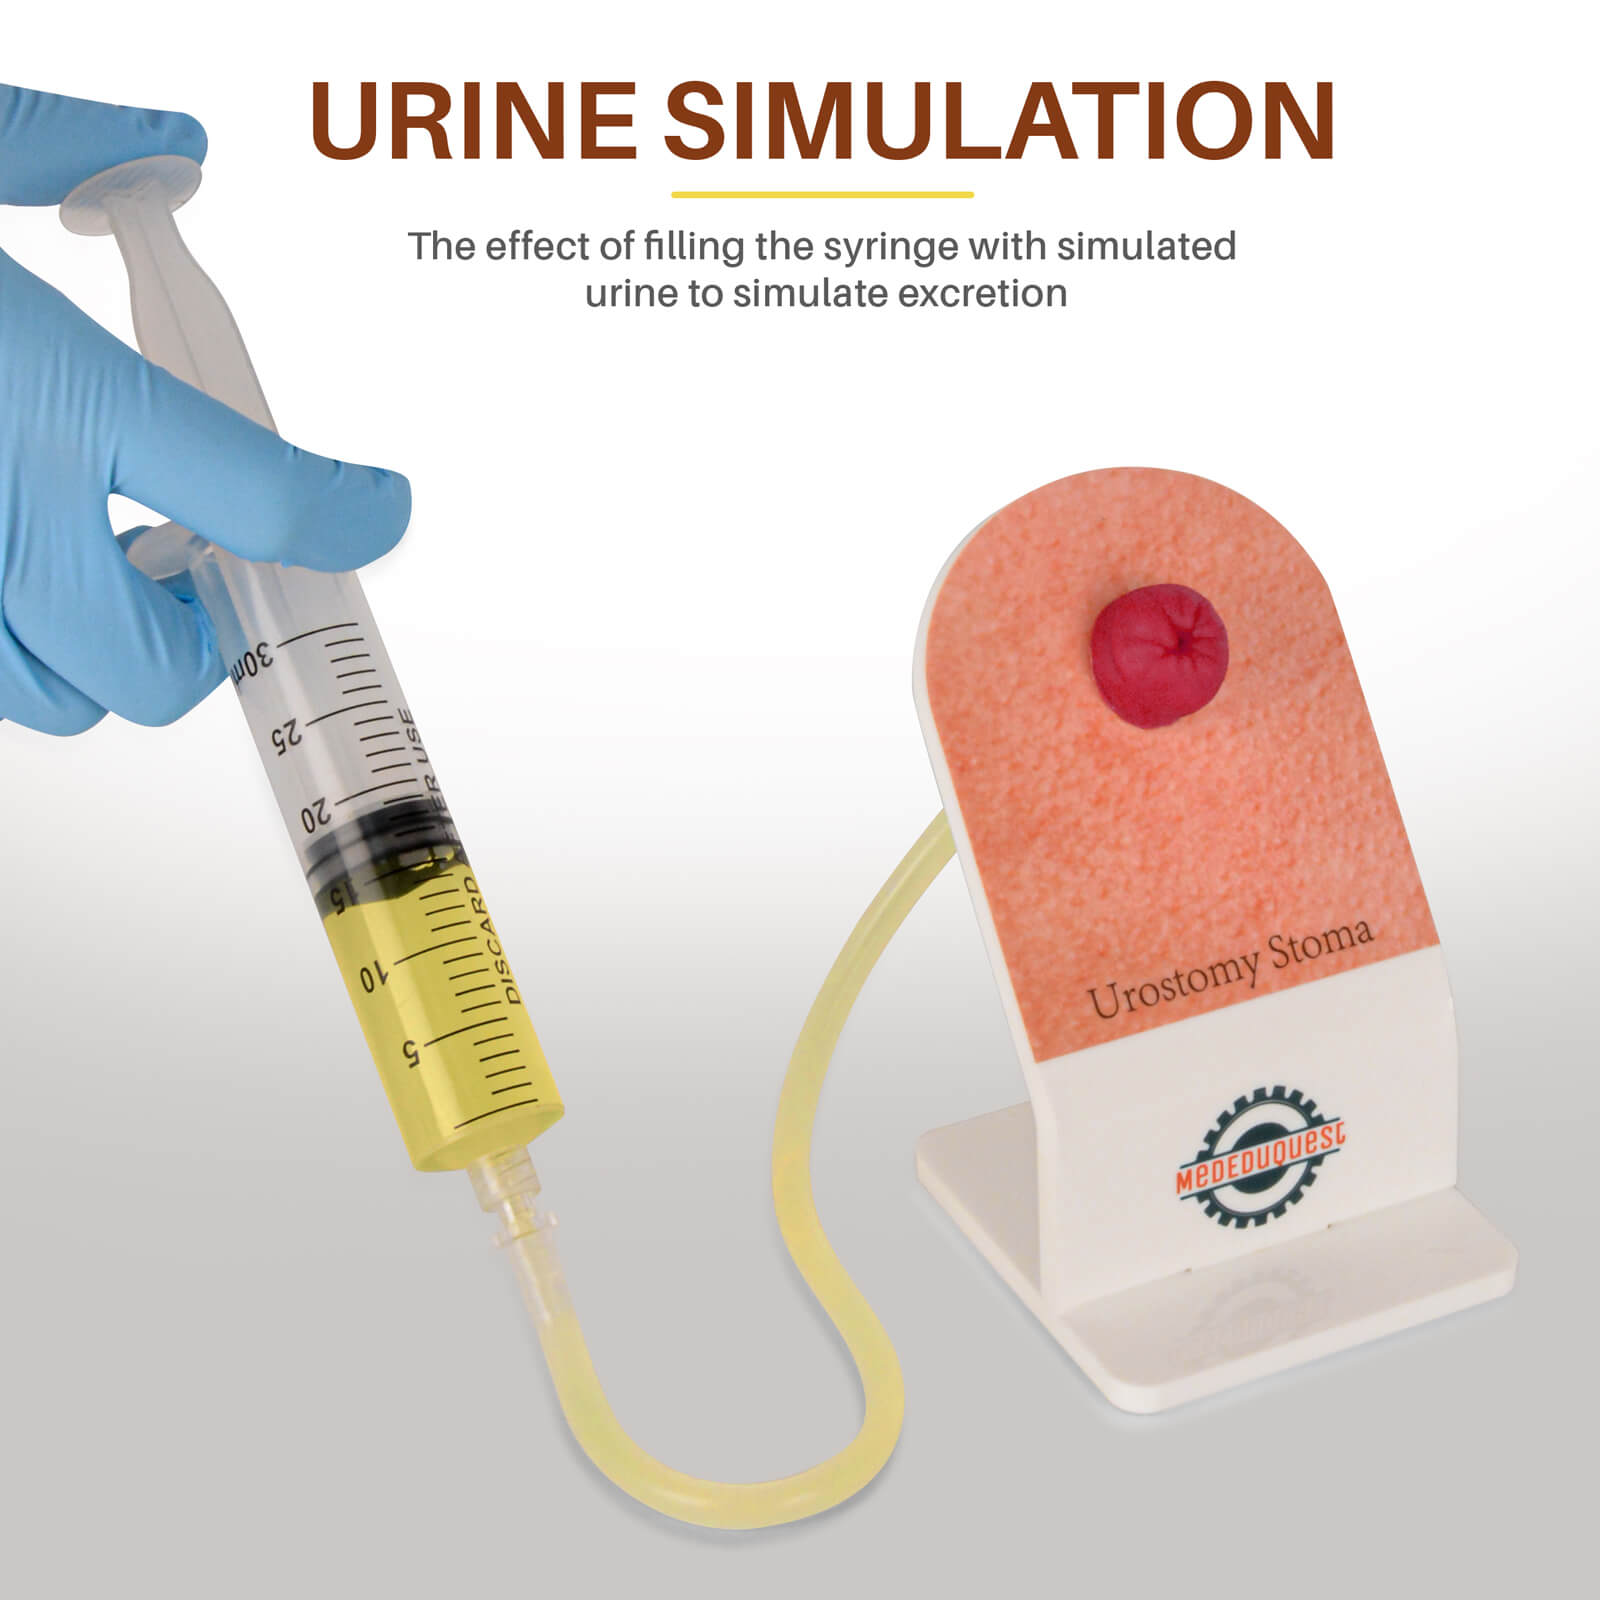
MedEduQuest ostomy care training models are designed for nursing schools, simulation laboratories, and healthcare training programs to support practical ostomy care education.
Tips to Improve Ostomy Pouch Application Skills
- Practice the Full Procedure
Avoid focusing only on pouch attachment. A complete procedure includes assessment, preparation, application, and evaluation. Reviewing each step systematically with an ostomy nursing skills checklist for students can help identify missed steps and improve overall care consistency.
- Repeat Until Comfortable
Repetition improves speed, accuracy, and confidence.
- Follow the Same Sequence
A consistent routine helps reduce missed steps during clinical situations.
- Ask for Instructor Feedback
Feedback helps students improve technique and correct small errors.
Conclusion
Ostomy pouch application is a fundamental nursing skill that requires practice, precision, and understanding of patient needs.
By following a step-by-step approach and practicing with realistic simulation models, nursing students can develop stronger technical skills and greater confidence before entering clinical settings.
Hands-on ostomy training helps transform theoretical knowledge into practical patient care skills.
.jpg?w=1600&h=1600)
.jpg?w=1600&h=1600)
.jpeg?w=1600&h=1600)
.jpeg?w=1600&h=1600)
.jpeg?w=1600&h=1600)
.jpeg?w=1600&h=1600)

.jpg?w=1000&h=1000)
.jpg?w=1000&h=1000)
.jpeg?w=1500&h=1500)
.jpeg?w=1500&h=1500)
.jpeg?w=1600&h=1600)
.jpeg?w=1600&h=1600)
.jpg?w=1600&h=1600)
.jpg?w=1600&h=1600)
.jpg?w=1500&h=1500)
.jpg?w=1500&h=1500)
.jpg?w=1500&h=1500)
.jpg?w=1500&h=1500)
.jpg?w=1500&h=1500)
.jpg?w=1500&h=1500)
.jpg?w=1500&h=1500)
.jpg?w=1500&h=1500)